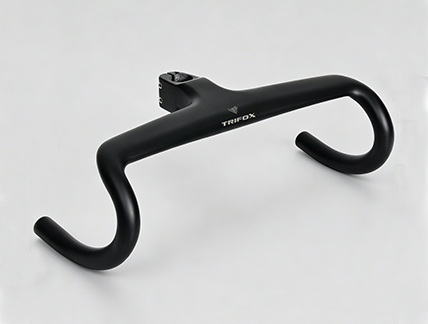
So you’ve bought a Trifox RHB600 carbon xc bars upgrade—and you’re staring at the box, wondering how not to turn that beautiful carbon cockpit into expensive scrap. Good news: integrated carbon bars aren’t as scary as they seem. You just need the right technique, a few essential tools and a little patience. This guide walks you through every step of installing your carbon fiber bar safely, without cracking it, crushing it or cutting too much off.
Before You Start: What You’ll Need
* Torque wrench (the single most important tool for carbon)
* Hex keys (4mm, 5mm)
* Carbon assembly paste (never grease!)
* Measuring tape or ruler
* Fine-tooth hacksaw with carbon blade
* Masking tape
* Fine-grit sandpaper (400 grit)
* Cable routing tool or safety wire (for internal routing)
* Safety glasses and soapy water (for cutting)
Step 1: Route the Cables First (Don’t Skip This)
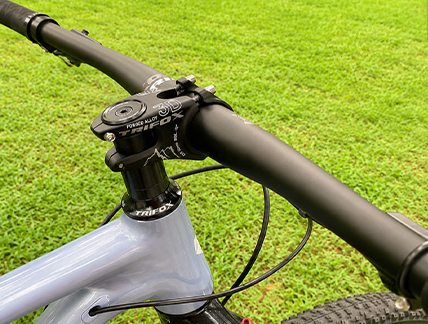
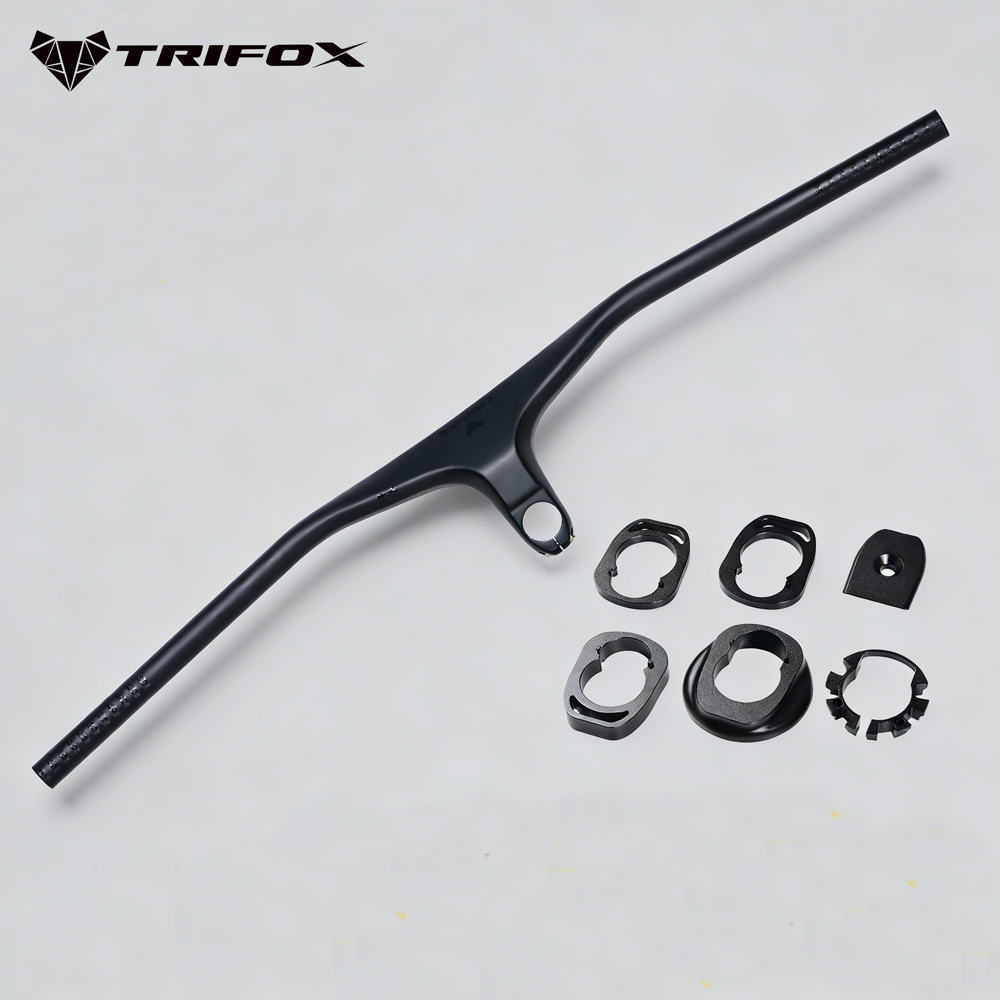
The RHB600 is a full internal routing design. All brake hoses, derailleur cables and dropper housings run completely inside the bar and stem structure. That means you must route the cables before clamping anything.
Remove the port covers at the stem area and lever mounting points. Use a cable routing tool or a length of thin safety wire with a small hook bent at the end. Feed the wire from the stem entry port toward the lever exit port, attach the cable housing to the wire, then pull it through. Repeat for both sides. This step takes patience—but it’s far easier than trying to fish cables after the bar is clamped in place.
Tip: Use a few drops of isopropyl alcohol as lubricant to help housing slide through the internal channels.
Step 2: Check Bar Width Before Cutting
Most integrated bars come at a standard 800mm width. That’s wide for stability, but many riders prefer 760mm or 780mm for tighter singletrack. Before cutting, mount the bar loosely (without fully torquing) and sit on the bike. Feel whether your hands naturally fall slightly inside the grips. Remember: you can cut more off later, but you can’t add material back. Measure twice, cut once.
When you’re ready to cut: wrap masking tape around both sides at the cut mark to prevent carbon splintering. Use a fine-tooth hacksaw blade and keep the cut surface sprayed with soapy water to contain carbon dust (which is harmful to breathe). After cutting, smooth the raw edge with 400-grit sandpaper—never use a metal file on carbon.
Step 3: Apply Carbon Paste—Never Grease
Standard grease makes carbon surfaces slippery and risks over-torquing. Carbon assembly paste contains tiny particles that increase friction between components, allowing you to achieve a secure hold at lower torque. Apply a thin, even layer to the stem clamp area and the steerer tube contact points. Smooth with your finger. Don’t glob it on—a thin coat is all you need.
Step 4: Torque Correctly (This Is Non‑Negotiable)
The most common cause of carbon handlebar failure is over‑tightening. Use a calibrated torque wrench. General torque for carbon bar clamp bolts is 4–6 Nm, but always follow the manufacturer’s specific recommendation for your stem. Tighten the faceplate bolts in a cross pattern (X‑pattern), not all on one side first, to distribute pressure evenly. For control clamps (brake levers and shifters), use a lower torque—around 2–4 Nm. Overtightening these can crush the carbon tube.
If you don’t own a torque wrench, buy one before touching carbon components. It’s not optional.
Step 5: Final Check and Cable Trim
Once everything is torqued to spec, cycle the fork through its travel to ensure cables aren’t binding or pulling taut. Then trim excess housing at the lever and frame entry points, install end caps, and seal the internal routing ports with the included rubber plugs.
The Takeaway
Installing an RHB600 carbon xc bars is a step‑by‑step process that rewards patience. The key rules: route cables first, measure cuts carefully, use carbon paste, and always—always—use a torque wrench. Follow these steps and your carbon fiber bar will stay intact, silent and safe for thousands of trail miles. And if you’re unsure at any stage, a local bike shop can handle the installation for a small fee—still far cheaper than replacing a cracked carbon bar.
2026-04-30
Trifox
SHARE:


Comments