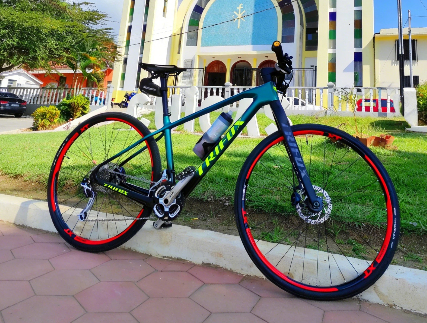
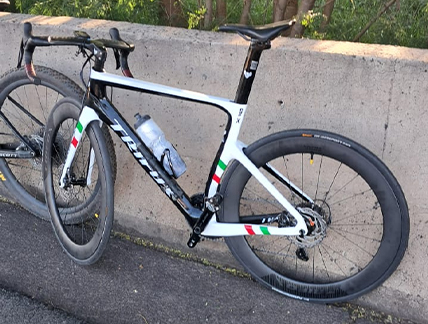
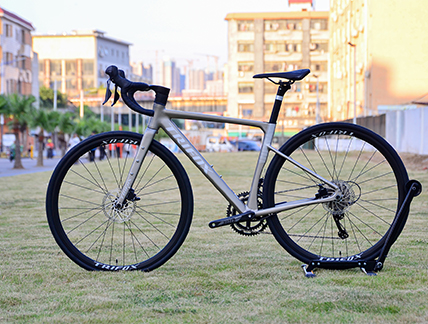
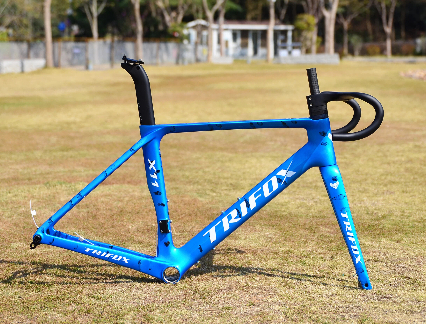
1. Frame
To clean the frame, you can use a rag dipped in water to pour on the parts, so that the mud stuck to the bottom of the frame will easily become soft when exposed to water. At this time, just wipe with a rag to easily remove the mud. It is not advisable to use a high-pressure water gun to wash the sludge on the bicycle, because this cleaning will easily enter the bottom bracket or hub and affect the life of the parts.
At this time, you need to pay attention to some places where mud is easy to accumulate on the frame, such as the position of the bottom bracket on the bottom bracket. After washing off the muddy water on the frame with clean water, wipe it with a semi-dry damp cloth. When there is dirt on the frame, just wipe it back and forth several times, and the frame will be clean. Remember not to scrub with detergent and soapy water.
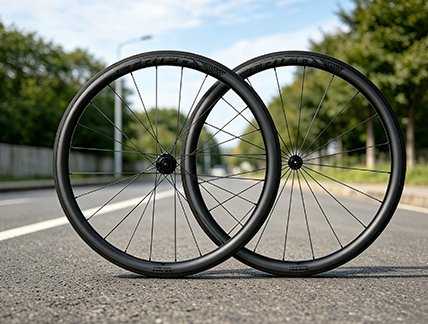
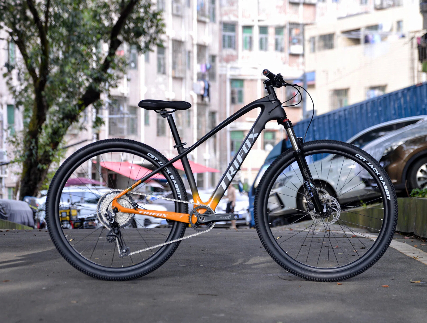
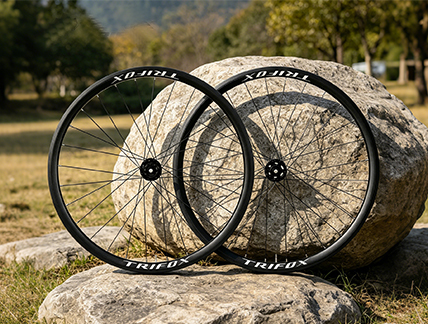
2. Wheels, tires, and seat post
When washing the wheelset, you can choose to use the shoe brush dipped in detergent to brush the sand on the tire. When washing the rim, it is best to use a semi-dry damp cloth and carefully wipe the brake pads on the rim. Simply scrub the spokes. After washing the hub, do not use a high-pressure water gun to remove the detergent. Simply dip it in water and wipe it with a clean cloth. When washing the seat post and the saddle, be careful not to let muddy water flow into the seat tube along the seam of the seat post clamp. Under the saddle, it is often the place where mud and water fly up the most, so you must carefully wipe off the mud with a rag.
For tires, you can use a slightly harder brush to remove the sand and dust from the tires for simple maintenance.
3. Shifter, front derailleur, and rear derailleur
After washing the above parts, the next step is to wash the shifter. The shifter is more complicated. There is more butter in the parts for lubrication. When cleaning the shifter, it is best to wipe it gently with a rag, and it will be clean. When washing front and rear derailleurs, you can directly aim the water pipe at the gap between the front and rear derailleurs to rinse with water, so that the mud and sand stuck in the front and rear dials can be washed away. After flushing, you can also use detergent to wash off the oil on the front and rear derailleurs.
4. Fork, pedal, brake
It's easy to clean the front fork and pedals. The pedals only need to be washed off with mud. It is best not to rinse the front fork with water. When scrubbing the inner tube of the front fork, wring out the water on the rag before wiping. Some impurities will remain on the inner tube of the front fork after using it for a period of time. You can gently wipe it off with a cotton swab. It is best to develop a habit of keeping the front fork clean. This is also the most basic maintenance of the front fork. When washing the brake (subject to the V brake), you can directly flush the mud and sand left in the brake with a water pipe to prepare for the next maintenance.
For chain wheel, front and rear transmissions, guide wheels, etc., dust and small dirt can be removed with a brush.
5. Crankset, freewheel, and chain
In the entire cleaning process, these three accessories may be the dirtiest parts. Because the lubricating oil is left on the accessories, dust is most likely to adhere. We can pour the same dishwashing detergent on the cloth first, and then clean the chainring after dipping it in water. When washing the chainring, try to wash every tooth with a cloth as much as possible. After washing, rinse with water. You will be pleasantly surprised to find that the crankset is as bright as new under the scrubbing with a dishcloth.
The next thing to wash is the freewheel. To wash the freewheel, remove the rear wheel for cleaning. First, release the rear brake so that the brake does not pinch the wheel. First, loosen the screws on both sides of the rear wheel quick release. At this time, tap the rear wheel lightly and the wheel will come out.
Put the wheels on the ground, wipe them carefully on the freewheel with a rag, pay attention to the position of the rear derailleur when putting the wheels back on the bicycle, and slowly pull the rear derailleur to put the wheels in. This process is very simple, and you can understand it after disassembly and assembly once or twice.
2023-02-15
Trifox
SHARE:


Comments