


Forget "just" improved stopping power – switching to a dedicated disc brake wheelset unlocks a cascade of performance benefits that fundamentally elevate your road riding. It's not an incremental upgrade; it's a transformation in control, confidence, and capability.
Why Disc Wheelsets Rule the Road:
1. Unshakeable Confidence, Anywhere, Anytime: Rim brakes falter in wet grit or on long, steep descents. Discs deliver consistent, powerful, and modulated braking performance regardless of weather, road grime, or gradient. This translates directly to riding faster with more control when it matters most.
2. Aerodynamic & Structural Advantages: Free from the need for a braking surface, disc wheelsets allow for wider, deeper, and more aerodynamically optimized rim profiles. This reduces drag for free speed. The rim itself is also stronger without the wear surface, enabling lighter constructions and improved impact resistance.
3. Tubeless Paradise: Disc wheelsets are the perfect partners for tubeless tires. Wider rims create a better tire profile for lower rolling resistance, enhanced grip, and the holy grail: fewer flats at lower pressures. No more worrying about brake track wear from heat during hard descents either.
4. Future-Proof Performance: The industry standard is clear. Disc brakes dominate new road bikes. Investing in a quality disc wheelset ensures compatibility with the latest frames and groupsets, protecting your upgrade path.
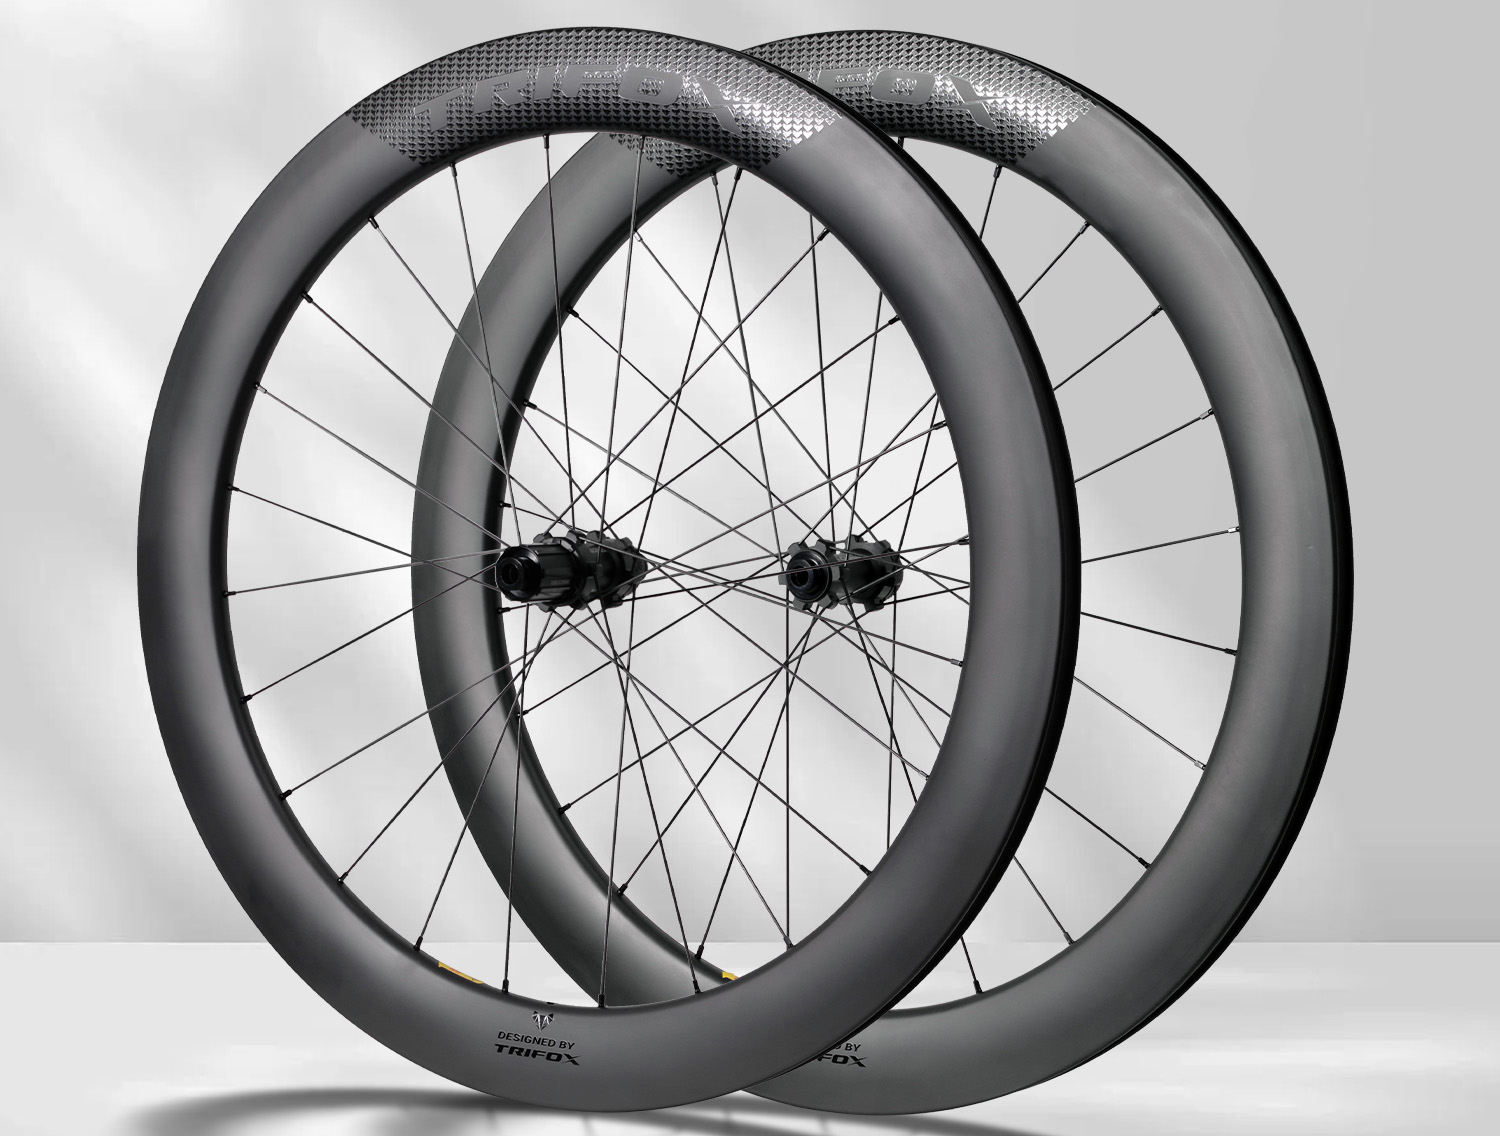
The Trifox WT11: Performance Engineered for Disc:
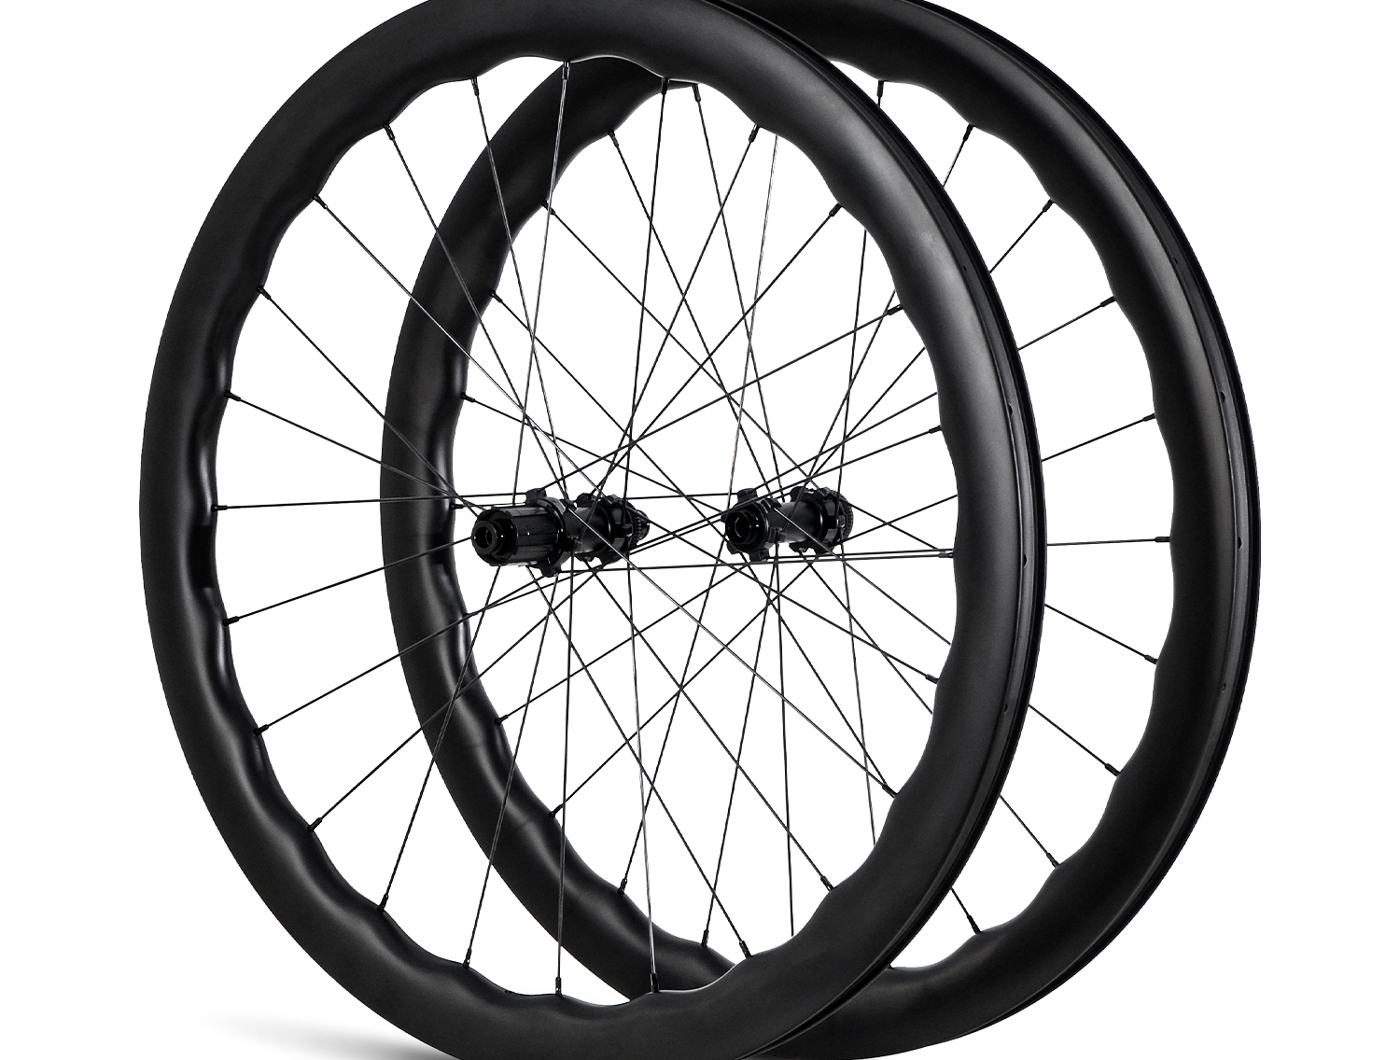
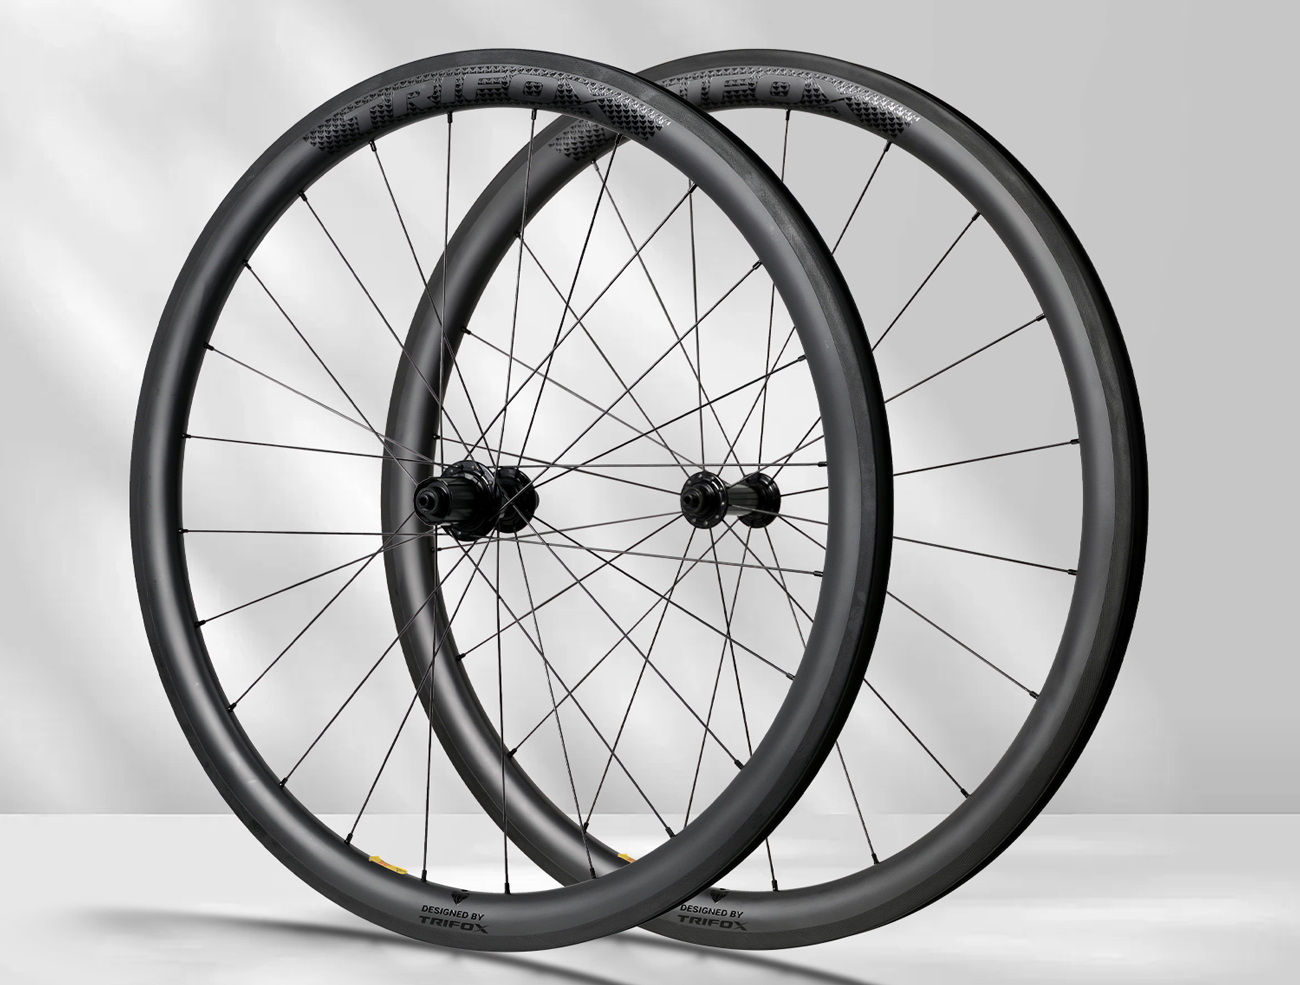
The WT11 Disc Brake Centerlock Clincher Carbon Wheelset embodies these advantages:
- Lightweight Carbon Construction: Prioritizes acceleration and climbing response.
- Optimized Aero Depth: Balances speed and crosswind stability.
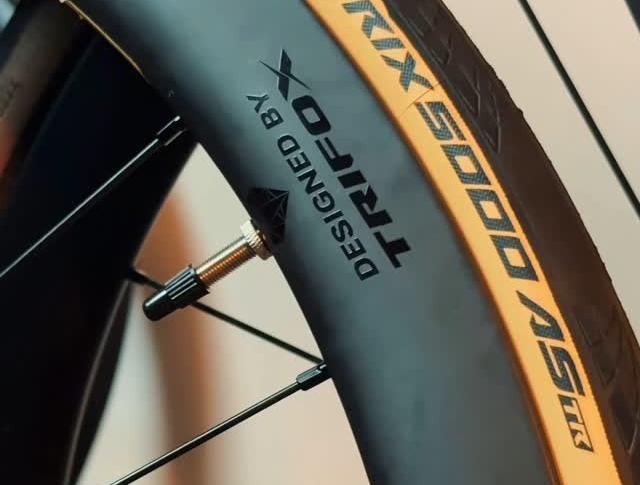
- Wider Rim Profile: Enhances tire performance and supports tubeless setups seamlessly (valves included!).
- Reliable Centerlock Interface: Ensures secure rotor mounting and easier maintenance.
- Stiffness & Durability: Engineered for powerful sprints and demanding riding.
Who Wins with Disc Wheels?
- All-Weather Warriors: Ride confidently rain or shine.
- Descenders & Climbers: Brake later, descend faster, climb without rim heat worries.
- Speed Seekers: Leverage superior aero and tubeless efficiency.
- Tech Adopters: Invest in the modern standard.
Ready for Uncompromised Control & Speed?
Upgrade your stopping power, unlock aerodynamic gains, embrace tubeless simplicity, and future-proof your ride. Disc wheelsets aren't just better brakes; they're the foundation for a faster, safer, and more enjoyable road experience.

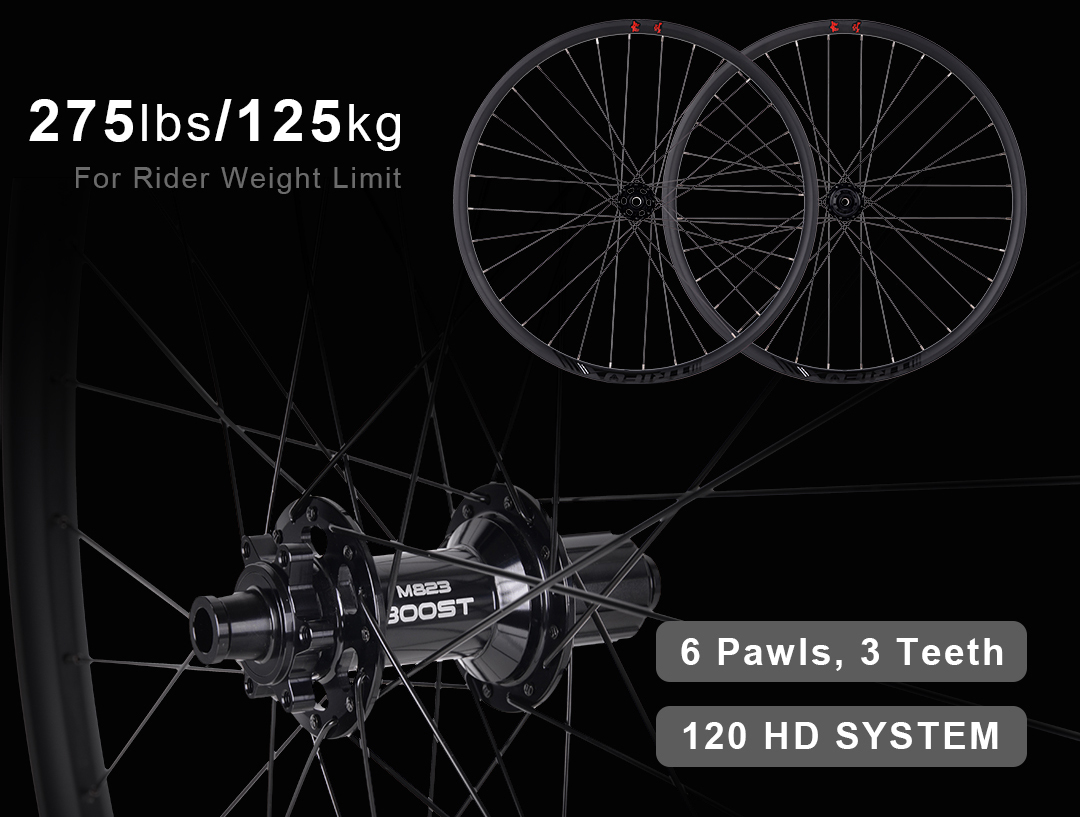
That "Boost" label on wheels and frames isn't marketing fluff – it's a significant evolution in mountain bike standards solving real problems. Here's the lowdown:
The Core Idea: Wider Hub Spacing
- Old Standard (Non-Boost): Front: 100mm width. Rear: 142mm width.
- Boost Standard: Front: 110mm width. Rear: 148mm width.
Why Bother Going Wider? Key Benefits:
1. Stiffer Wheels: The wider hub flanges (the points where spokes attach) move the spokes further apart laterally. Think of it like a wider stance. This dramatically increases wheel stiffness, especially crucial for:
Hardtails: Reducing flex under pedaling and cornering.
Modern Geometry: Supporting wider tires and longer, slacker bikes that put more stress on wheels.
Preventing Brake Rub: Stiffer wheels flex less under hard braking (disc brakes), reducing the chance of pads hitting the rotor.
2. Better Tire Clearance: The wider spacing allows frame designers to create wider rear triangles and fork crowns. This provides ample room for today's popular wider tires (2.4" to 2.8"+) without compromising chainline or risking tire rub on the frame.
3. Improved Frame Design: The extra space allows designers to:
Create shorter chainstays (improving maneuverability).
Use wider, stiffer bottom brackets (like BB92/BB121).
Improve suspension kinematics (on full-suspension bikes).
4. Better Chainline: The wider rear hub shifts the cassette slightly outboard. Combined with modern 1x drivetrains, this creates a straighter chainline across all gears, improving shifting performance and efficiency.
What Do You Need for Boost?
- Boost Frame & Fork: Your bike frame must have Boost rear spacing (148x12mm thru-axle) and your fork must have Boost front spacing (110x15mm thru-axle).
- Boost Wheels: You need wheels built with hubs specifically designed for Boost spacing. (Like the Trifox WM823 Boost wheels linked above).
- Boost Crankset: While not always mandatory, most modern Boost frames pair best with cranks designed for a wider "Boost chainline" (often 52mm vs the old 49mm).
Is Boost Backwards Compatible?
Generally, no. You can't fit a Boost wheel into a non-Boost frame/fork without adapters (which often compromise stiffness). Non-Boost wheels won't fit Boost frames/forks.
Boost isn't just "newer," it's genuinely better. It delivers tangibly stiffer, stronger wheels, enables modern frame designs and tire sizes, and improves drivetrain performance. If you're buying a new mountain bike or wheels (like the Trifox WM823 Boost), Boost is the modern standard you want. It solved real engineering limitations and is here to stay.
Upgrading to carbon wheels is a significant investment, but the performance gains are often transformative, not just incremental. Here’s how they change your ride:
1. Weight Savings = Acceleration & Climbing Magic:
Rotational Weight Matters Most: Shedding weight from the wheels (especially the rim) makes a HUGE difference. Lighter rims accelerate faster and climb easier because you're spinning mass, not just carrying it. You feel this instantly when sprinting or attacking hills.
2. Stiffness = Precision & Power Transfer:
Lateral Rigidity: Carbon rims resist flex under hard pedaling and cornering forces. This translates to:
Sharper steering response.
More direct power transfer (less energy lost to flex).
Increased confidence railing corners and pumping terrain.
3. Aerodynamics = Free Speed (Especially Cruising):
Smoother Airflow: Well-designed carbon rims slice through the air more efficiently than boxy aluminum counterparts. This reduces drag noticeably at sustained speeds above ~18-20mph, saving watts on flats and rolling terrain.
4. Vibration Damping = Smoother Ride & Reduced Fatigue:
Material Properties: High-quality carbon layups can absorb high-frequency trail buzz better than aluminum. This reduces hand, arm, and body fatigue on long, rough rides, improving comfort and control.
5. Strength & Durability (When Done Right):
Modern Engineering: Contrary to myths, properly built carbon wheels (from Trifox brands) are incredibly strong and impact-resistant. They excel at handling sharp hits and offer excellent fatigue resistance compared to aluminum.
The Caveats:
Braking Performance: Requires specific resin brake pads and proper bedding-in. Wet-weather performance can still lag slightly behind top aluminum.
Impact Sensitivity: While strong, massive, square-edge hits can cause damage aluminum might dent instead. Ride style and terrain matter.
Diminishing Returns for Casual Riders: The gains are most pronounced for fit, experienced riders pushing their bikes.
Who Feels the Biggest Difference?
- Climbers & Accelerators: Feel the weight savings instantly.
- Aggressive Trail/Enduro/DH Riders: Appreciate the stiffness and damping on rough descents.
- XC & Gravel Racers: Benefit from weight, aero, and stiffness efficiency.
- Riders Seeking "Ride Feel": The damped, lively, precise sensation is unique.
Carbon wheels make a substantial, multi-faceted difference. They are lighter, stiffer, often more aerodynamic, and can provide a smoother, more controlled ride. While expensive, they deliver tangible performance benefits that significantly alter how the bike feels, accelerates, climbs, and handles. For riders prioritizing performance and willing to invest, the upgrade is often considered one of the most impactful you can make.
The allure of deep carbon wheels is undeniable, promising "free speed." But how much faster are popular 50mm wheels actually? Let's cut through the hype with real-world expectations.
The Core Advantage: Aerodynamics
The primary benefit is reduced aerodynamic drag. At speeds above 20-25 km/h (12-15 mph), overcoming air resistance consumes most of your power. A 50mm rim depth strikes a near-perfect balance:
- Significant Drag Reduction: Compared to standard alloy box-section rims (often 20-30mm deep), 50mm wheels offer a major aero improvement. They slice through the air more efficiently, especially in crosswinds where they remain stable.
- Sweet Spot: Deeper wheels (60-90mm) offer marginally better pure aero gains on dead-flat courses but become heavier and harder to handle in winds. 50mm provides excellent aero benefits while remaining versatile and manageable for most riders and conditions.
Quantifying the Gain: Seconds Matter
Studies and real-world testing consistently show meaningful time savings:
1. Over 40km (25 miles): Expect savings of 45 to 90 seconds compared to standard alloy wheels, depending on your speed, course profile (flatter = bigger gain), wind, and tire choice. At higher average speeds (e.g., 35-40 km/h), the gains are larger.
2. Per Hour: Roughly 1-2% faster average speed for the same power output. This translates to gaining 1-2 minutes per hour on flat to rolling terrain. On a 100km ride, that's 5-10 minutes saved without pedaling harder!
3. The "Free Speed" Factor: This is the magic. You go faster for the same effort. It feels easier to hold higher speeds, making group rides or solo efforts less taxing aerodynamically.
Beyond Pure Aero: Weight & Stiffness
- Weight: While not as light as ultra-shallow carbon or top alloy wheels, modern 50mm carbons are surprisingly light (often 1400-1600g/set). This minimizes the penalty on climbs compared to deeper sections. The weight savings over alloy plus the aero gain creates a net positive.
- Stiffness: Carbon rims are generally stiffer laterally than alloy, improving power transfer and handling precision, especially when sprinting or cornering hard.
Important Caveats
- Where the Gain Is: The biggest advantage is on flat or rolling terrain at sustained speeds above 25-30 km/h. In stop-start city riding or very steep climbs (>8%), pure weight becomes more critical, though the aero benefit still helps on descents and rolling sections.
- Tires & Tubes: Pair them with fast-rolling, quality tires (25-28mm often optimal) and latex tubes or tubeless for maximum benefit. Slow tires negate the aero advantage.
- Wind Handling: While manageable, 50mm wheels are more affected by strong crosswinds than shallow rims. Most riders adapt quickly.
The Verdict: A Worthy Speed Boost
50mm carbon wheels deliver a tangible, significant speed increase – typically 1-2 minutes saved per hour on flatter terrain compared to standard wheels. This translates to meaningful time savings over any distance where aerodynamics dominate. They offer the best blend of aero efficiency, manageable weight, versatility, and stability for most road cyclists seeking a performance upgrade. It's not magic, but it's the closest thing to "free speed" you can bolt onto your bike.
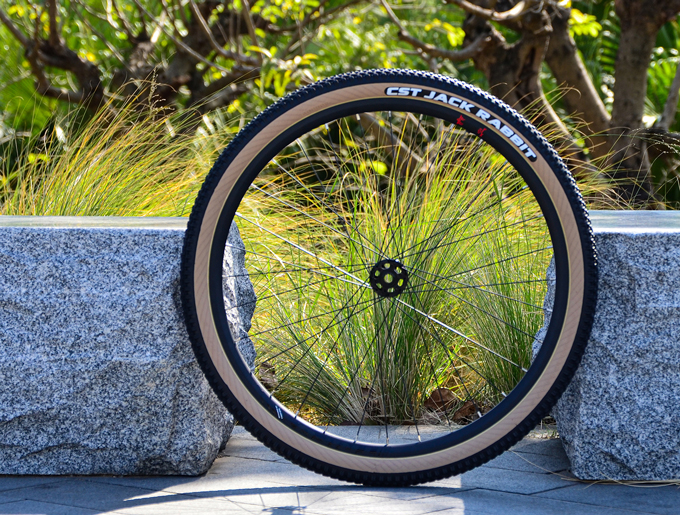
In mountain biking, wheels are the unsung heroes—bearing loads, absorbing shocks, and translating power. The Trifox Alloy Disc Brake Wheels (WM823 Boost) masterfully balance durability, affordability, and cutting-edge specs, proving you don’t need carbon to conquer modern trails.
Aluminum alloy remains a gold standard for riders prioritizing resilience and value. Unlike carbon, alloy rims withstand rock strikes, crashes, and rough terrain with minimal damage, making them ideal for aggressive cross-country or trail riding. Trifox’s WM823 rims pair this toughness with a weight-conscious design, light enough for climbs yet robust for descents.
Disc Brakes: Precision Meets Power
Disc brakes are non-negotiable in modern cycling, offering consistent stopping power in mud, rain, or dust. These wheels feature 6-bolt disc hubs, ensuring compatibility with Shimano, SRAM, or Magura systems. Alloy rims also avoid carbon’s heat buildup during long descents, reducing brake fade and boosting safety.
Engineered for Modern Trails
The WM823 Boost wheels embrace today's standards:
- 148x12mm Boost Rear Spacing: Enhances wheel stiffness, tire clearance (up to 2.6”), and drivetrain alignment.
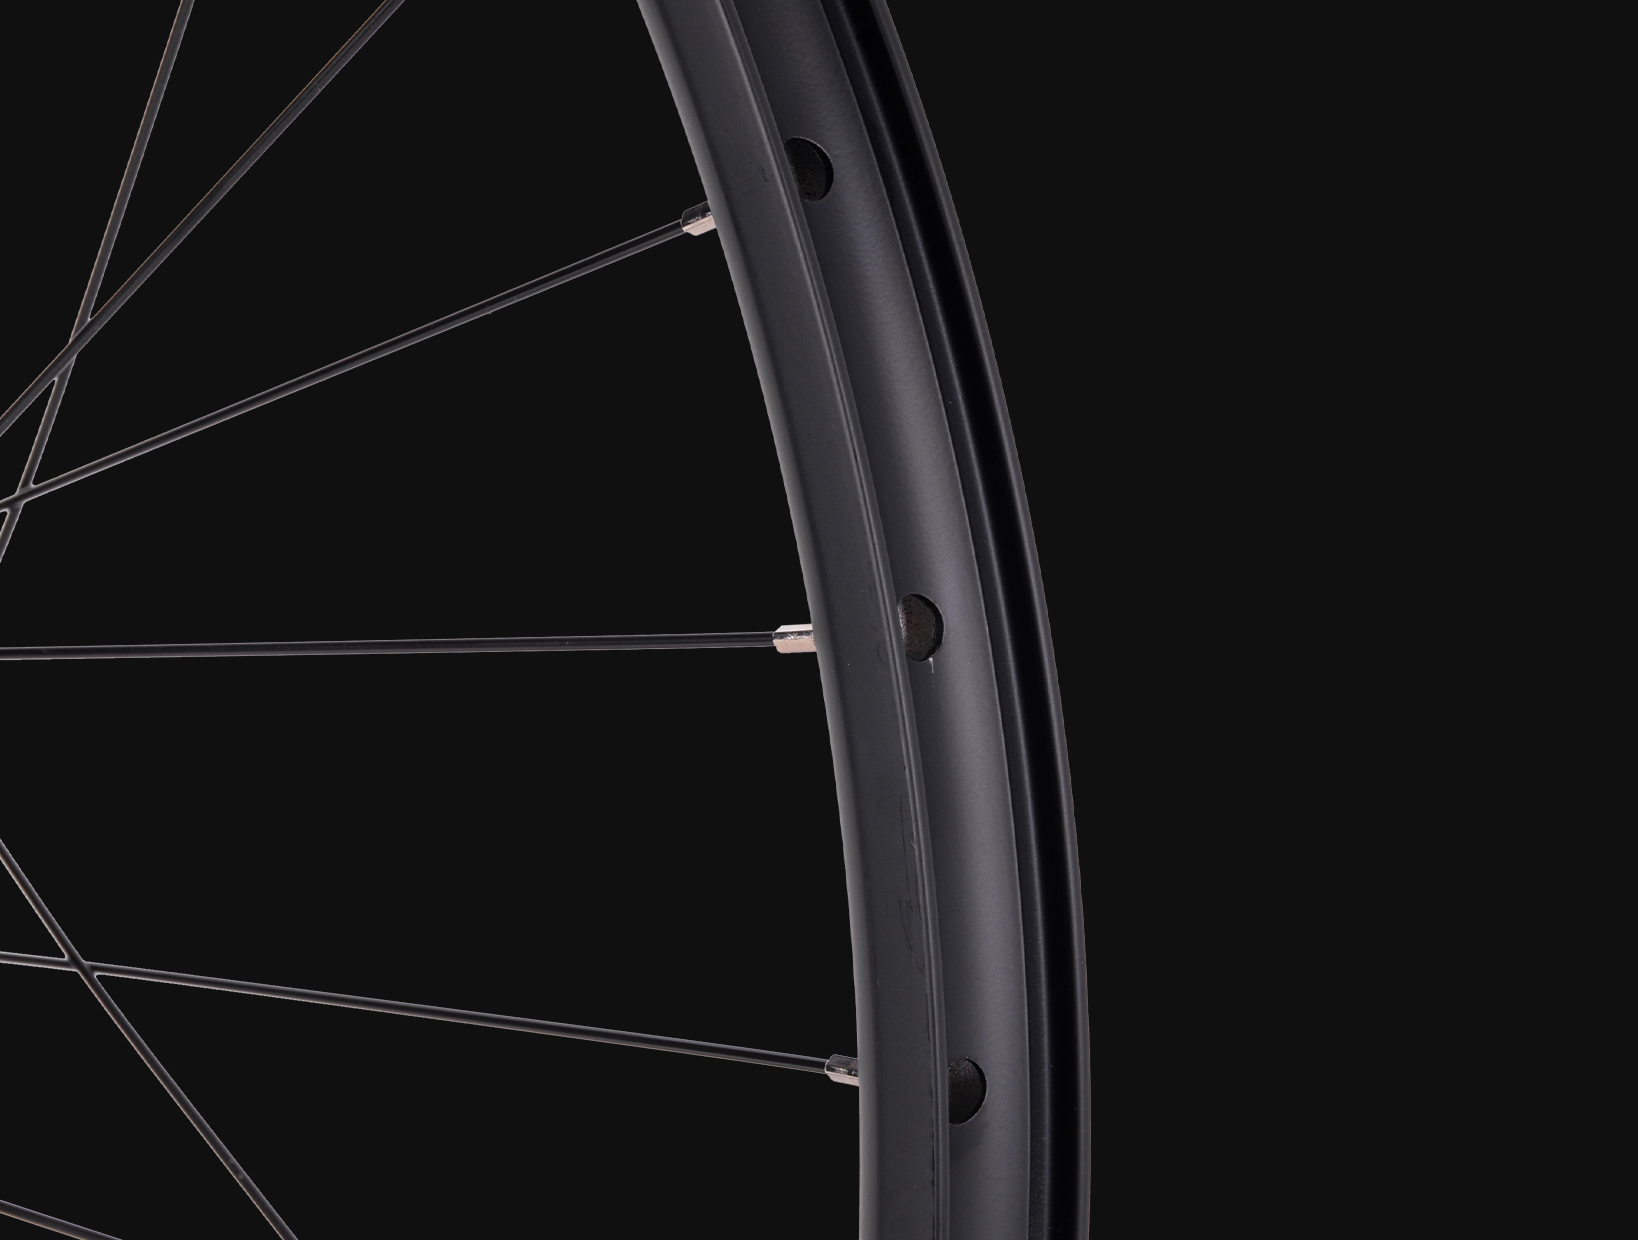
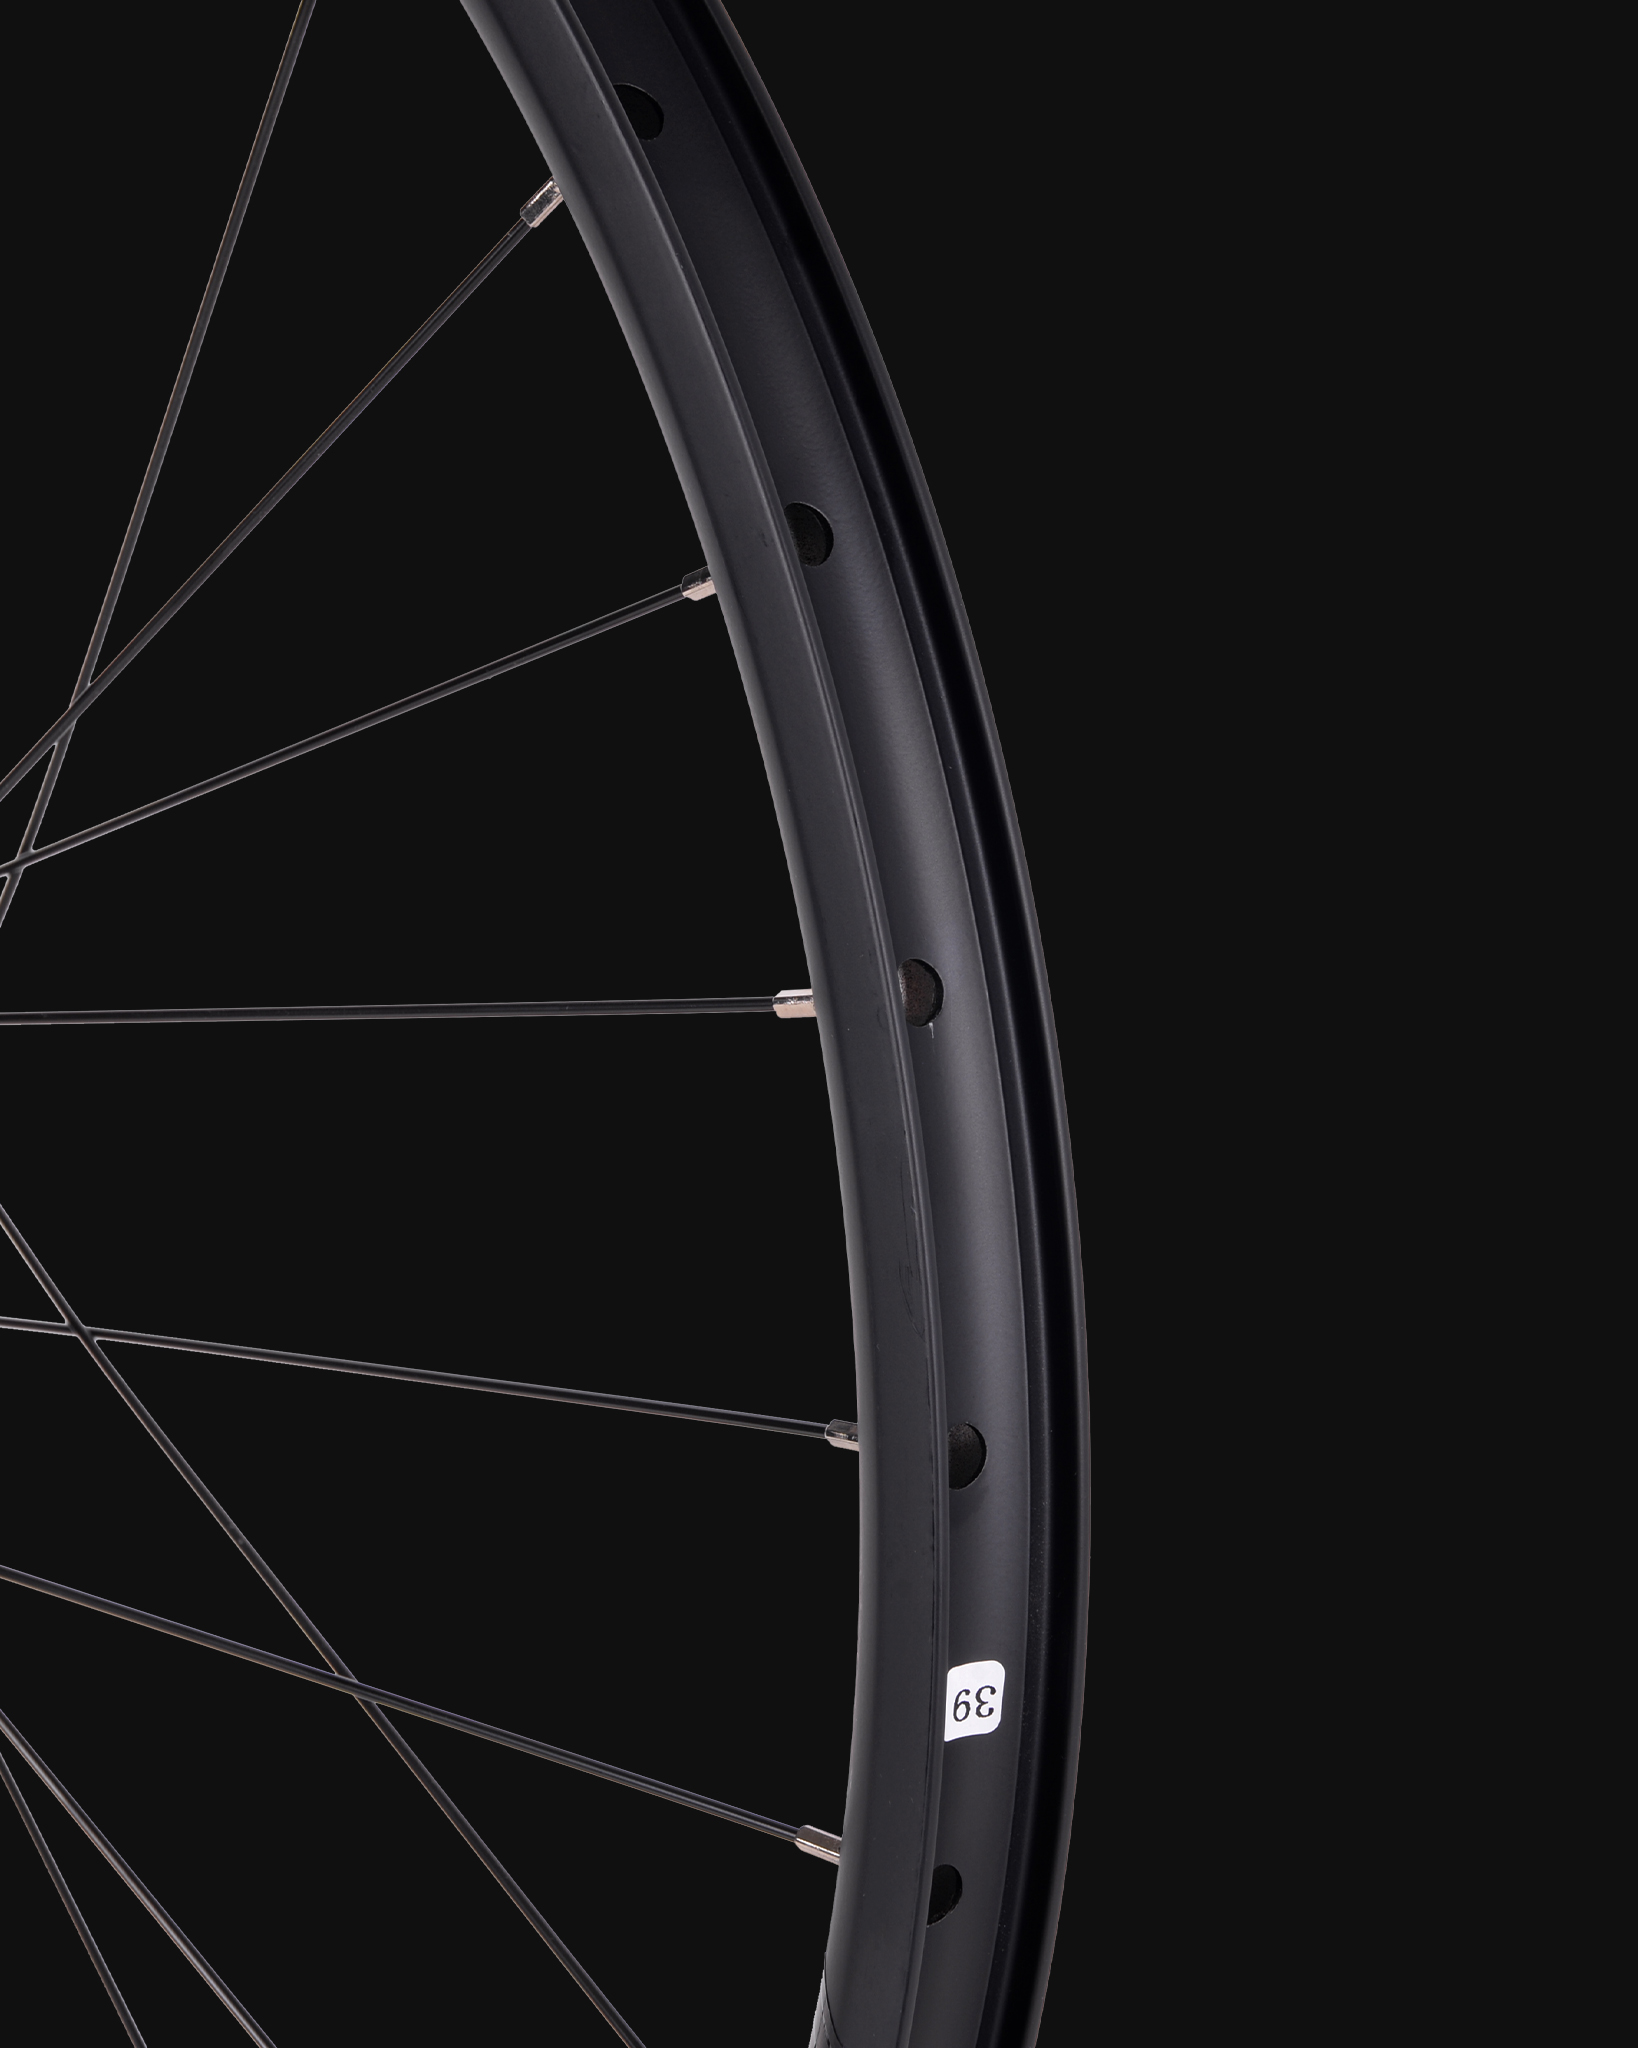
- Tubeless-Ready Rims: Seal punctures instantly and run lower pressures for grip without pinch flats.
- Double-Wall Construction: Balances impact resistance and weight savings.

Whether you're building a hardtail or upgrading a full-suspension rig, the Trifox WM823 Boost wheels deliver a rare trifecta: bombproof durability, trail-ready performance, and budget-friendly pricing. Ready to elevate your ride? Explore the set here and tackle technical terrain with confidence—no compromises required.

Aero wheels are a hot topic in cycling, promising speed gains and efficiency for riders looking to shave seconds off their times. But do they actually live up to the hype, or are they just flashy accessories for your bike? Let’s break down the science, benefits, and trade-offs of aero wheels to help you decide if they’re worth the investment.
The Science of Speed
Aero wheels are designed to reduce aerodynamic drag, which is the largest force slowing you down at speeds above 15 mph (24 km/h). By using deeper rims (typically 40-90mm) and optimized profiles, these wheels slice through the air more efficiently than traditional box-section or shallow rims.
Studies suggest that upgrading to aero wheels can save 15-30 watts of power at race speeds—equivalent to gaining a 1-2 mph boost without pedaling harder. For competitive cyclists, that’s often the difference between podium placement and the middle of the pack.
But What About Real-World Riding?
While the wind tunnel doesn't lie, real-world conditions add complexity. Aero wheels excel on flat roads, during solo breakaways, or in time trials where maintaining speed is critical. However, their benefits diminish on steep climbs (where weight matters more) or in gusty crosswinds, where deeper rims can feel twitchy. If you’re a weekend warrior or prioritize climbing over flat-out speed, the gains might not justify the cost.
Alloy vs. Carbon
Many riders assume aero wheels must be carbon, but alloy options like Trifox’s Alloy Road Wheels offer a compelling middle ground. These wheels blend durability, affordability, and a semi-aero profile to deliver noticeable performance improvements without the fragility or premium price tag of full-carbon setups. For riders who want a balance of aero efficiency and everyday reliability, alloy wheels are a smart choice—especially if you’re not chasing marginal gains in a race.
The Verdict
Aero wheels do make a difference—if speed is your priority. For racers, triathletes, or riders focused on flat-terrain performance, the aerodynamic edge is undeniable. However, for casual cyclists or those on a budget, the benefits may feel subtle compared to the cost. Consider your riding style, terrain, and goals before upgrading. And remember: No wheel can replace the power of consistent training!
Ready to explore your options? Check out Trifox’s alloy road wheels for a practical, high-quality upgrade that won’t break the bank.
Choosing the right mountain bike wheel size—26", 27.5", or 29"—can feel overwhelming, but understanding their strengths will help you pick the perfect match for your riding style.
26-Inch Wheels: The Classic Choice
Once the standard, 26" wheels are nimble and lightweight, offering quick acceleration and agility for technical trails or dirt jumps. They’re favored by freeriders and those prioritizing maneuverability over speed. However, they’ve lost ground to larger sizes due to reduced rollover capability on rough terrain.
27.5-Inch Wheels: The Balanced Performer
27.5" (650B) wheels strike a middle ground. They roll faster than 26" wheels, tackle obstacles more smoothly, and remain agile enough for tight corners and playful riding. This size suits trail and enduro riders who want versatility—ideal for everything from climbs to descents.
29-Inch Wheels: Speed & Stability
29ers dominate cross-country and endurance riding. Their larger diameter rolls over roots and rocks effortlessly, maintaining momentum on climbs and rough descents. While less nimble in tight spaces, they’re faster on flow trails and favored by taller riders seeking stability.
Mixed Wheel Sizes: The “Mullet” Setup
Some riders mix a 29" front wheel (for stability) with a 27.5" rear (for agility). This hybrid boosts confidence on descents while keeping the rear end lively—popular in downhill and enduro disciplines.
Trifox MTB Wheels: Built for Choice
Whether you prioritize speed, agility, or adaptability, Trifox’s MTB wheels offer robust carbon options across sizes. Their 29" models excel in efficiency, while 27.5" wheels cater to technical riders. Lightweight yet durable, they’re designed to enhance your preferred riding style.
Who Should Ride What?
26": Jumpers, dirt riders, or those on older frames.
27.5": Trail/enduro riders seeking a playful, all-rounder feel.
29": XC racers, endurance riders, or anyone prioritizing speed and stability.
There's no universal “best” wheel size—it depends on your terrain, height, and riding goals. Test different sizes if possible, and consider Trifox’s high-performance wheels to optimize your setup. Whether you’re carving singletrack or racing uphill, the right wheels elevate every ride.
What Are Carbon Disc Wheels?
Carbon disc wheels feature a solid or semi-solid carbon fiber disc instead of traditional spoked wheels. Paired with disc brakes (like the Trifox WT11 Disc Brake Centerlock Clincher Carbon Wheelset), they’re designed to reduce drag, improve aerodynamics, and deliver a stiffer, more responsive ride.
The Benefits of Going Carbon
Speed & Aerodynamics: The solid disc design slices through wind, making them ideal for time trials, triathlons, or road racing where every second counts.
Lightweight Strength: Carbon fiber offers a high strength-to-weight ratio, reducing rotational mass for quicker acceleration.
Disc Brake Compatibility: Disc brakes provide consistent stopping power in all conditions, a major upgrade over rim brakes.
Sleek Aesthetic: Let's be honest—they look fast and modern, turning heads on group rides.
Potential Drawbacks
Crosswind Sensitivity: The solid design can catch gusts, requiring extra handling skill in windy conditions.
Cost: High-quality carbon wheels like the Trifox WT11 are an investment, though performance gains often justify the price.
Versatility: Less ideal for climbing-heavy routes or gravel riding, where lighter spoked wheels may excel.
Who Should Consider Them?
Competitive Cyclists: If you race or prioritize speed, the aero advantage is unmatched.
Fair-Weather Riders: Perfect for dry conditions where braking performance isn’t compromised.
Tech Enthusiasts: Early adopters who crave cutting-edge gear will love the WT11’s Centerlock hub and clincher compatibility.

Carbon disc wheels shine for riders focused on speed, aerodynamics, and premium performance. If your budget allows and you’re tackling flat or rolling terrain, they’re a game-changer. However, casual riders or those in windy, hilly areas might prefer traditional spoked wheels.
If you're eyeing a wheelset or frame upgrade, you’ve likely heard about “Boost” hubs. But is this wider hub standard (110x15mm front, 148x12mm rear) worth the investment?
What is Hub Boost?
Boost spacing increases hub width, allowing for stiffer wheels and better tire clearance. Developed for mountain biking, it enhances control on technical terrain by improving spoke bracing angles and reducing flex.
Benefits of Boost Hubs
Stiffer Wheels: Better power transfer and handling, especially during aggressive cornering or descents.
Wider Tires: Accommodates modern, plus-sized tires (2.6”+), improving traction and comfort.
Future-Proofing: Most new MTB frames and forks prioritize Boost compatibility.
When Do You Need It?
Aggressive Trail/Enduro Riding: If you’re tackling rocky descents or high-speed singletrack, Boost’s stiffness is a game-changer.
Upgrading Your Frame/Fork: Newer models often require Boost hubs. Check compatibility before purchasing.
Running Wide Tires: Boost spacing prevents chainstay rub on larger tires.
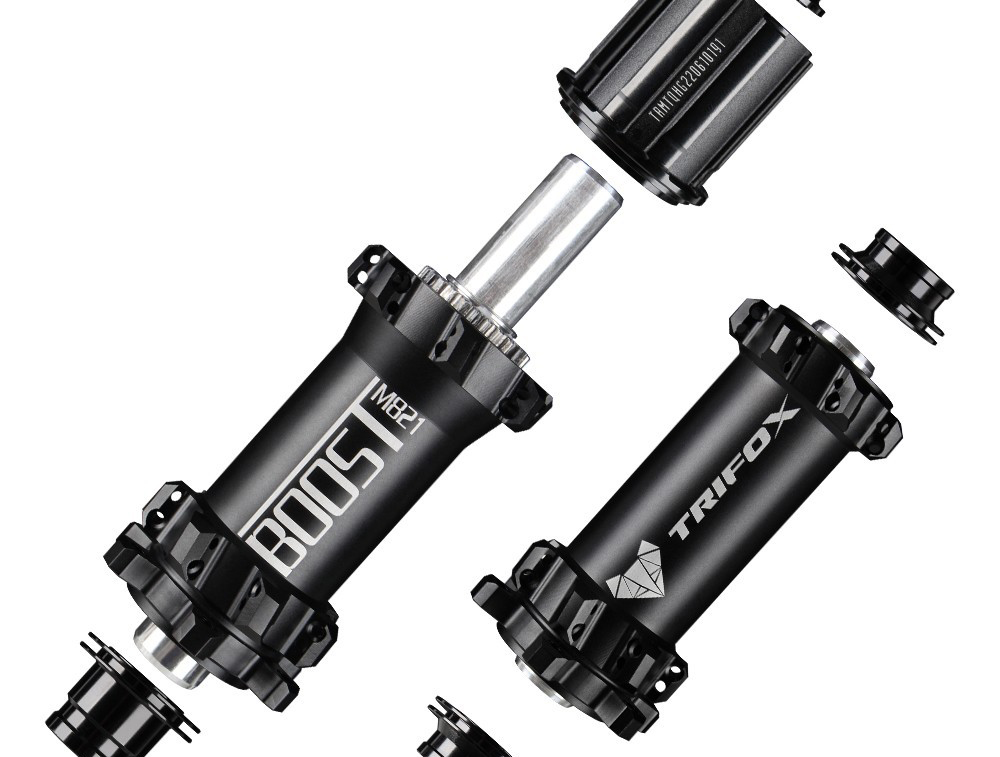
Considerations
Cost: Upgrading may require new hubs, wheels, or even a frame. The Trifox M821 offers a durable, lightweight option at a competitive price.
Compatibility: Non-Boost frames won’t fit Boost hubs without adapters (which add weight and complexity).
Riding Style: Casual riders on smooth trails may not notice a difference.
If you're into technical riding or planning a frame upgrade, Boost hubs are worth it. The stiffness and tire clearance benefits shine on rough terrain. For others, it’s a “nice-to-have” but not essential.
Ready to boost your ride? Explore the Trifox M821 Boost Hub—engineered for durability and performance without breaking the bank.


