Choosing and installing the right handlebar parts for your bike is akin to selecting the perfect steering wheel for a car. It's not just about aesthetics; it's about comfort, control, and safety. The right handlebar setup can transform your riding experience, whether you're navigating urban streets, tackling rugged mountain trails, or racing on a sleek road bike.
Understanding Handlebar Parts
Before diving into the selection and installation process, it's crucial to understand the key components that make up your bike's handlebar system:
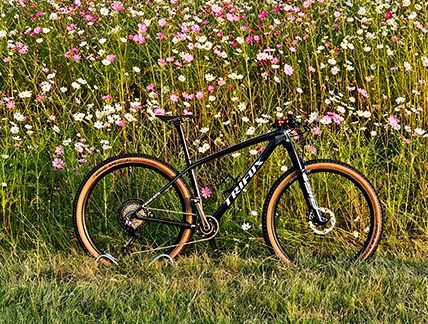
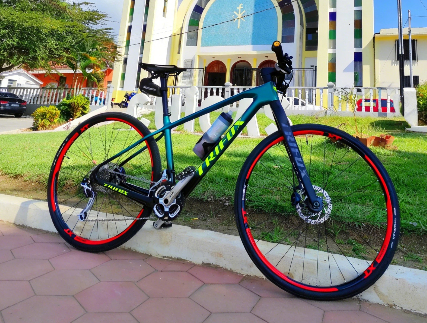
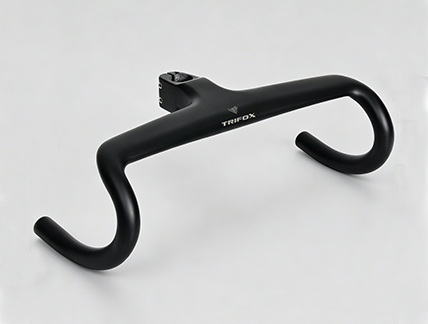
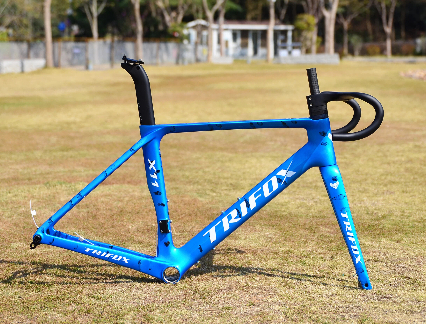
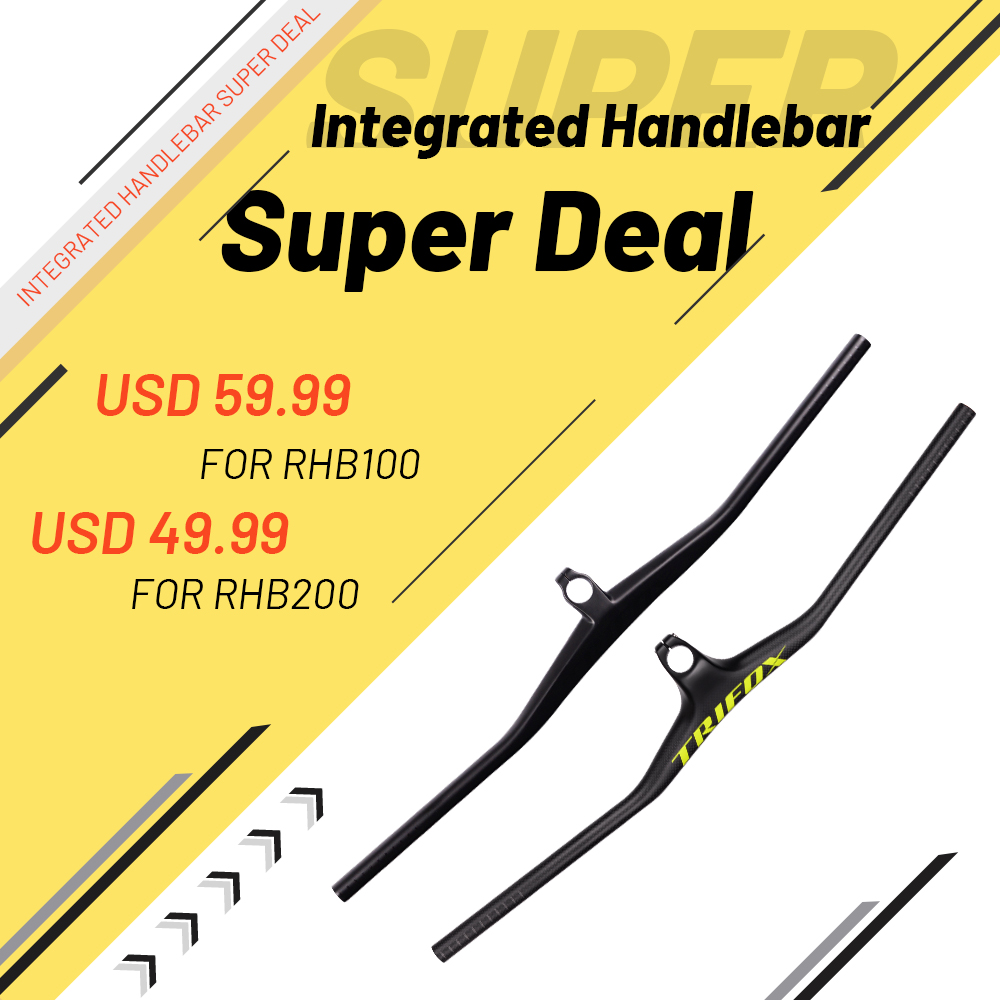
1. Handlebars: The main part that you hold onto while riding. They come in various shapes and sizes, tailored to different types of biking.
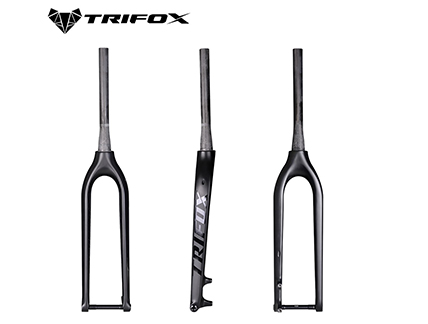
2. Stem: The component that connects the handlebars to the bike's fork steerer tube, affecting the bike's handling and rider's position.
3. Grips or Bar Tape: Materials wrapped around the handlebars to provide cushioning and grip for the rider's hands.
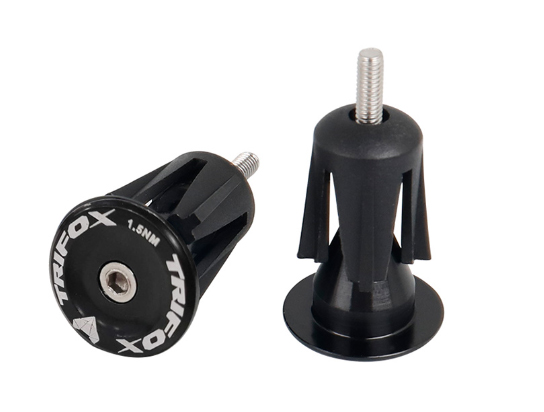
4. Bar Ends : Optional extensions at the ends of the handlebars, offering additional hand positions.
Choosing the Right Handlebar Parts
1. Consider Your Riding Style
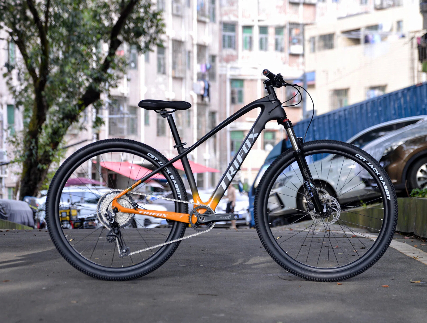
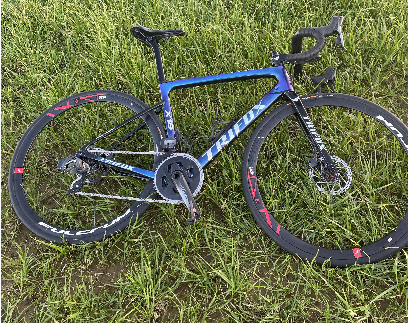
The first step in choosing the right handlebar parts is to consider your primary riding style. Road cyclists may opt for aerodynamic bars that allow for multiple hand positions, while mountain bikers might prefer wider bars for better control over rough terrain. Touring cyclists, on the other hand, might value comfort over long distances and choose handlebars that facilitate an upright posture.
2. Select the Right Material
Handlebars and stems are made from various materials, including aluminum, carbon fiber, and steel. Aluminum offers a good balance between strength, weight, and cost, making it a popular choice for many cyclists. Carbon fiber is lighter and can absorb road vibrations better but is more expensive. Steel is durable and has a classic look but is heavier.
3. Pay Attention to Size and Geometry
The size and geometry of your handlebars significantly impact your bike's handling and your comfort. Handlebar width should roughly match your shoulder width for optimal control and comfort. The shape of the bars, such as the reach and drop (for road bikes), also affects your riding position and aerodynamics.
Installing Handlebar Parts
Tools You'll Need
- Allen keys/hex wrenches
- Tape measure
- Handlebar tape or grips
- Torque wrench (optional but recommended)
Installation Process
1. Installing the Stem: If you're replacing the stem, loosen the bolts on the old stem and remove it from the steerer tube. Slide the new stem onto the steerer tube, ensuring it's at your desired height and angle. Tighten the bolts evenly but do not over-tighten.
2. Attaching the Handlebars: Place the handlebars in the stem clamp, adjusting them to your preferred angle and position. Most stems have four clamp bolts—tighten them in a cross pattern to ensure even pressure. Use a torque wrench if possible to avoid damaging the bars or stem.
3. Applying Grips or Bar Tape: For grips, simply slide them onto the ends of the handlebars and secure them according to the manufacturer's instructions. For bar tape, start wrapping at the end of the handlebars, keeping the tape tight and overlapping each wrap slightly. Finish by securing the tape with electrical tape or the provided adhesive strip.
Final Tips
- Always refer to the manufacturer's instructions for specific details and torque settings.
- Regularly inspect your handlebar setup for signs of wear, damage, or loose components.
- Consider professional fitting services if you're unsure about the best setup for your needs.
By carefully selecting and correctly installing the right handlebar parts for your bike, you can enhance your riding experience, improve bike control, and enjoy greater comfort on your cycling adventures. Whether you're a seasoned cyclist or a beginner, the right handlebar setup can make all the difference in your ride.
2024-04-03
Trifox
SHARE:


Comments