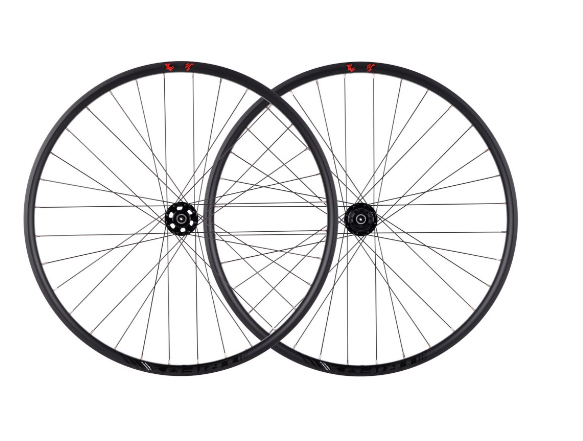
Lacing your own bike wheels is a rewarding project that can enhance the durability and performance of your ride. One popular method for lacing wheels is the "2 Cross" (2X) pattern. This technique involves crossing each spoke over two others on its way from the hub to the rim, striking a balance between strength and flexibility.
Understanding the Components
Before we dive into the lacing process, it's important to familiarize yourself with the components involved:
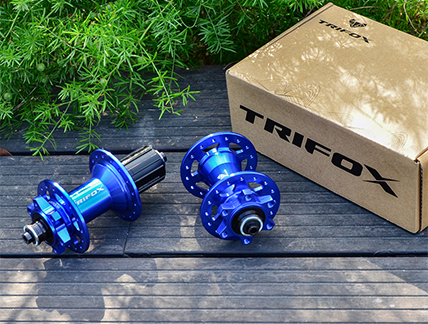
- Hub: The central part of the wheel that rotates around the axle.
- Rim: The outer circular part of the wheel.
- Spokes: The rods connecting the hub to the rim.
- Nipples: The threaded receivers attached to the rim that hold the spokes in place.
Preparing Your Workspace
Ensure you have a clean, well-lit workspace with enough room to comfortably work on your wheel. Organize your spokes and nipples so they're easily accessible.
Step 1: Inserting the First Set of Spokes
Begin by inserting a spoke into every other hole in the hub, making sure they're all facing the same direction. Next, thread these spokes through holes in the rim. The first spoke should be attached to a hole just to the right of the valve hole for ease of access and symmetry. As you insert the spokes, attach the nipples loosely to hold them in place but do not tighten them yet.
Step 2: Adding the Second Set of Spokes
Now, flip the wheel over to work on the opposite side of the hub. Insert the next set of spokes into every other hole on the hub, ensuring they alternate with the first set you installed. These spokes will also go into every other hole on the rim, but you'll need to start one hole over from your original starting point to ensure the proper alignment for the 2 Cross pattern.
Step 3: Lacing the Cross Pattern
This step is where the 2 Cross pattern comes to life. Take a spoke from the side of the hub you're currently working on and cross it over two spokes already attached to the rim, then insert it into the next available hole in the rim. It's crucial to maintain consistency in the crossing pattern to ensure the wheel's strength and balance.
Step 4: Completing the Wheel
Continue the process until all spokes are inserted. Remember, each spoke should cross over two others before being secured to the rim. Once all spokes are in place and loosely secured with nipples, you can begin the process of tightening and truing the wheel.
Tightening and Truing
Tightening and truing the wheel are critical steps in ensuring your wheel is durable, strong, and rides smoothly. Begin by gradually tightening each nipple evenly around the wheel. Use a truing stand if available, or you can true the wheel by eye, adjusting for any lateral (side-to-side) or radial (up-and-down) movement. The goal is to eliminate wobbles while ensuring the wheel remains centered.
Tips for Success
- Be Patient: Wheel lacing is a meticulous process that shouldn't be rushed. Take your time to ensure each spoke is correctly placed and tensioned.
- Check Your Work: Regularly check your progress to ensure the spokes are correctly crossing and the wheel is taking shape as expected.
- Even Tension: Maintaining even tension across all spokes is crucial for the wheel's durability and performance. Uneven tension can lead to wheel instability and premature failure.
Final Thoughts
Lacing your wheels using the 2 Cross method is a great way to customize your bike and improve its durability. While the process may seem daunting at first, with patience and practice, you'll be able to lace your wheels like a pro. Remember, the key to a successful wheel build is precision and attention to detail.
By following this guide, you'll not only gain a deeper understanding of how your bike works but also enjoy the satisfaction of riding on wheels you've built yourself. Whether you're a seasoned cyclist looking to upgrade your ride or a hobbyist looking to expand your skills, wheel lacing is a valuable skill to have in your cycling repertoire.
2024-04-10
Trifox
SHARE:


Comments