


When it comes to mountain biking, your tires can make or break your ride. That’s why many off-road enthusiasts are making the switch to MTB tubeless tires. These tires offer superior performance, better traction, and fewer flats compared to traditional tube setups, making them the ultimate choice for tackling rough terrains.
Why Choose Tubeless Tires for MTB?
1. Flat Prevention – One of the biggest advantages of tubeless tires is their ability to resist punctures. Without an inner tube, there’s no risk of pinch flats, which occur when the tube gets pinched between the tire and the rim. Instead, tubeless tires use sealant that automatically fills small punctures, keeping you riding without interruptions.
2. Lower Tire Pressure for Better Grip – Tubeless setups allow you to run lower air pressure without the risk of pinch flats. Lower pressure means more tire contact with the ground, resulting in better traction and improved control on technical trails.
3. Lighter Weight – By eliminating the inner tube, tubeless tires reduce rotational weight. This leads to better acceleration and efficiency, helping you ride faster with less effort.
How to Set Up Tubeless Tires
Setting up tubeless tires requires a tubeless-ready rim, tubeless-compatible tires, sealant, and a tubeless valve. Here’s a quick guide:
- Prep the Rim: Ensure your rim is clean and apply tubeless tape to create an airtight seal.
- Install the Valve: Insert a tubeless valve into the rim’s valve hole and tighten it securely.
- Mount the Tire: Carefully fit the tubeless tire onto the rim, ensuring both sides are seated properly.
- Add Sealant & Inflate: Pour sealant inside the tire, then use a high-pressure pump or compressor to seat the tire onto the rim.
Once set up, you'll enjoy a smoother, faster, and more durable ride on even the most challenging trails.

Explore MTB tubeless tires now at Trifox Bike and upgrade your off-road performance today!

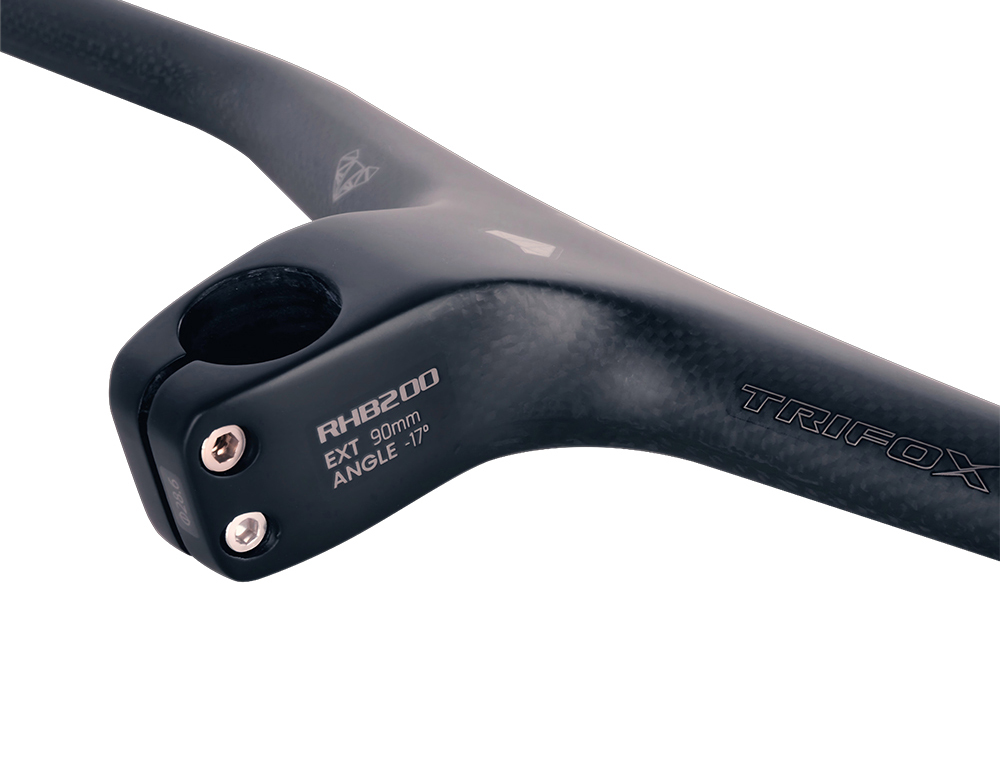
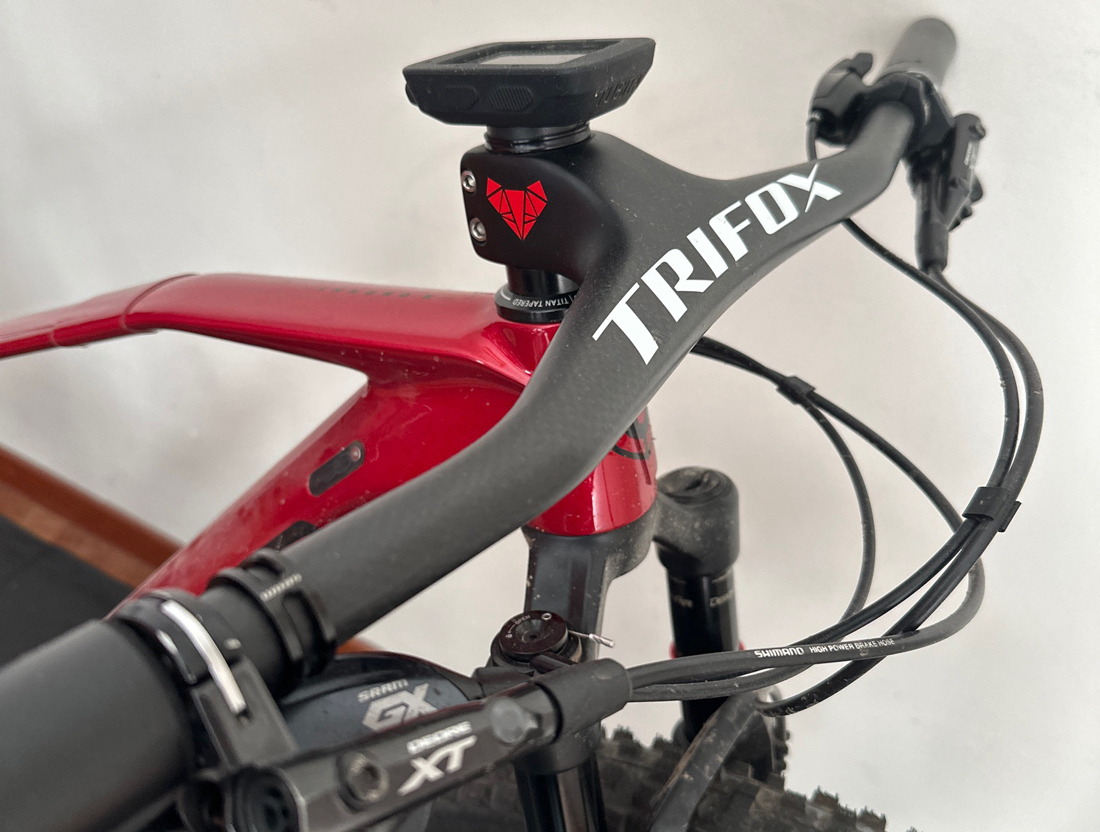
When it comes to cycling, the handlebar is your primary point of contact with the bike. It influences your control, comfort, and overall riding experience. Choosing the right handlebar and grip is essential for optimizing performance, whether you’re navigating rough trails or cruising along the road. At Trifox, we understand the importance of a great handlebar, and we offer a wide range of carbon bike handlebars designed to enhance your ride.
Why the Right Handlebar Matters
The handlebar is more than just a steering tool—it plays a crucial role in your posture, stability, and comfort on the bike. The shape, width, and material of the handlebars impact how you interact with the bike, affecting everything from your control on descents to how comfortable you feel during long rides. A poor handlebar choice can lead to discomfort, fatigue, and even injury, while the right one can improve your efficiency and make your ride much more enjoyable.
Choosing the Right Shape and Width
Handlebars come in various shapes and widths to suit different riding styles. For example, road bikes typically use drop handlebars, which allow for multiple hand positions, offering better aerodynamics and comfort on long rides. Mountain bikes, on the other hand, often have flat or riser handlebars, providing greater control on rough terrain.
The width of your handlebars is also a key consideration. Wider handlebars offer more control and stability, especially when navigating technical terrain, while narrower bars are better for high-speed riding, offering a more aerodynamic posture.
The Importance of Material: Carbon vs. Aluminum
When it comes to material, carbon handlebars are favored by many cyclists for their lightness, strength, and vibration-damping qualities. Carbon reduces road vibrations, leading to a smoother ride and less hand fatigue on longer journeys. At Trifox, our carbon bike handlebars combine lightweight performance with durability, providing the ultimate upgrade for cyclists seeking enhanced comfort and control.
Aluminum handlebars, while heavier, are still a popular choice for riders who prioritize durability and cost-effectiveness. They offer excellent strength, making them ideal for riders who expect to push their bikes through rugged terrain.
Grip Matters: Comfort and Control
The right grip is essential for comfort and control. Grips made from materials like rubber or silicone can reduce hand fatigue, while ergonomic grips help reduce pressure points, making long rides more comfortable. Choosing a grip that suits your hand size and riding style is just as important as selecting the right handlebar.

Mastering your cycling handlebar is about more than just steering—it’s about enhancing comfort, performance, and control. Whether you prefer the lightweight performance of carbon handlebars or the durability of aluminum, the right handlebar and grip can transform your ride.
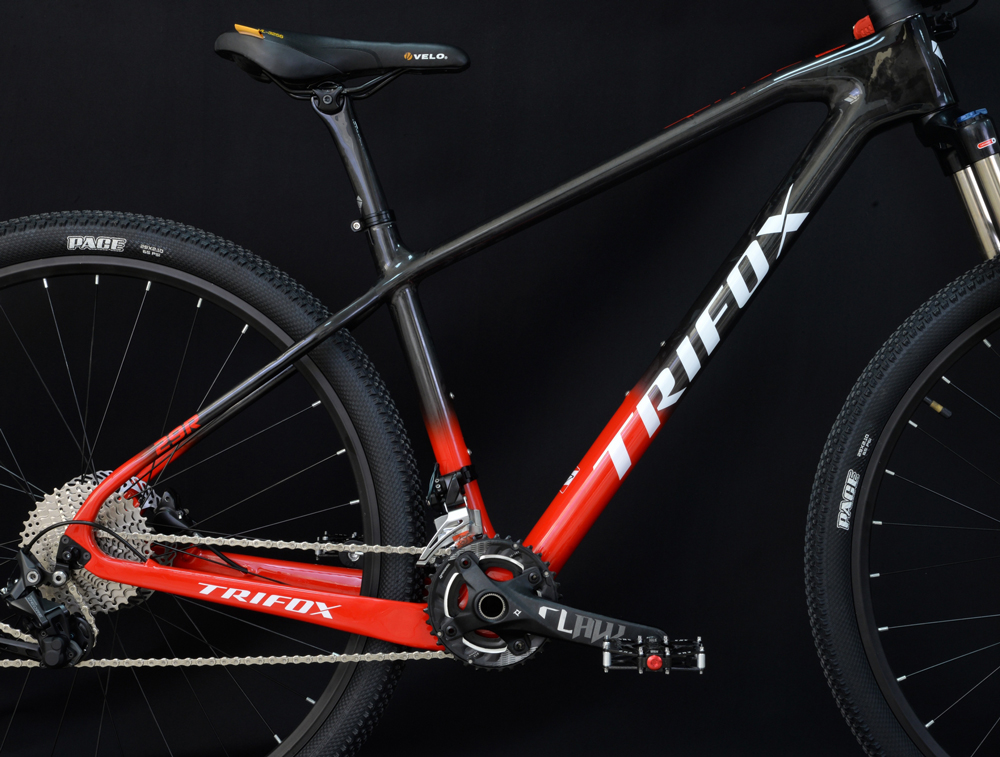
When it comes to choosing the right bicycle frame, two materials dominate the conversation: carbon fiber and aluminum. Each offers distinct advantages, so the decision often depends on your riding style, budget, and performance goals. At Trifox, we specialize in both carbon and aluminum frames, ensuring that you have the perfect bike for your needs. Let's dive into the key differences between these two materials.
Carbon Fiber Frames: Lightweight & High Performance
Carbon fiber frames are renowned for their lightweight properties and superior performance. The material’s high strength-to-weight ratio allows for more efficient power transfer, which means you can accelerate faster and ride longer without feeling weighed down. Carbon also absorbs vibrations from the road or trail, offering a smoother, more comfortable ride.
However, carbon frames come with a higher price tag due to their advanced manufacturing process and performance benefits. They are also less durable when exposed to significant impact or crashes, though their lightweight and ride quality often make them the preferred choice for competitive cyclists and long-distance riders.
Aluminum Frames: Durable & Affordable
Aluminum frames are known for their durability and cost-effectiveness. They are heavier than carbon but still relatively lightweight, making them a great option for riders who want solid performance at a more affordable price point. Aluminum is also more resistant to impact damage, making it a popular choice for rugged terrains and beginners.
While aluminum doesn't offer the same level of vibration damping as carbon, it is still a reliable material that provides excellent strength and longevity at a lower cost.
Which Should You Choose?
If you prioritize high performance, a lightweight feel, and a smooth ride, a carbon frame is the way to go. On the other hand, if you're looking for durability, affordability, and versatility, an aluminum frame offers great value without compromising too much on performance.
At [Trifox Official Website], we offer both carbon and aluminum frames, allowing you to choose the best option for your cycling needs.
When it comes to cycling, the one-size-fits-all approach often leaves riders compromised. Whether you’re a casual cyclist, a weekend warrior, or a professional racer, your bicycle should fit your unique body type, riding style, and performance needs. This is where custom bicycles come into play. They are becoming the ultimate choice for those seeking the highest level of personalization and performance.
At Trifox, we understand that every cyclist is different, which is why we offer a wide range of custom bikes that cater to specific needs, preferences, and goals.
1. Perfect Fit for Maximum Comfort
One of the biggest advantages of a custom bicycle is the ability to tailor the fit to your body. Off-the-shelf bikes are mass-produced, designed for the “average” rider, and while they may work for many, they rarely offer the perfect fit. With a custom bike, you can ensure that the frame geometry, saddle position, handlebar height, and pedal placement are all aligned with your natural riding posture.
This perfect fit eliminates discomfort and reduces the risk of injury, making long rides more enjoyable. You’ll experience less strain on your joints and muscles, allowing for better endurance and faster recovery. A well-fitting bike doesn’t just improve comfort; it also enhances your overall riding performance.
2. Improved Performance with Tailored Components
Every cyclist has unique performance needs based on factors like terrain, riding style, and cycling goals. Whether you're into road racing, mountain biking, or just cruising around town, a custom bicycle allows you to choose components that perfectly match your requirements.
At Trifox, we offer high-quality components for every type of cycling discipline. From lightweight carbon frames and advanced suspension systems to premium wheels and gearsets, you can select the components that best suit your performance goals. Custom bicycles allow for optimization, meaning you can enhance speed, control, and stability according to your personal preferences.
3. Personalized Aesthetics: Express Yourself
Cycling isn't just about function; it’s also about style. Custom bikes offer a canvas for your creativity. You get to choose the colors, finishes, and design elements that reflect your personality. Whether you prefer sleek, minimalist designs or bold, attention-grabbing graphics, a custom bike lets you express yourself in ways that off-the-shelf bikes simply can’t.
At Trifox, we offer a variety of customization options that let you create a bike that's uniquely yours. From vibrant colors to custom decals and finishes, your bike can be as distinctive as your riding style.
4. Enhanced Durability and Longevity
A custom bike often uses higher-quality materials and craftsmanship than mass-produced bikes. Because custom bicycles are built to order, manufacturers can take the time to use superior materials and ensure that every detail is perfect. Whether it’s a carbon fiber frame or titanium components, custom bikes are built to last.
This attention to quality translates into greater durability, meaning your bike will stand up to the rigors of regular use for many years. Additionally, because you’re choosing components that are tailored to your riding style, you can ensure that the bike can handle the conditions you put it through. A well-built, durable custom bike reduces the need for frequent repairs and replacements.
5. Better Fit for Specialized Cycling Needs
Cyclists who have specialized needs, such as those with unique body dimensions or physical limitations, will benefit greatly from a custom bike. Customization allows for adjustments like extended handlebars, unique frame geometries, or specialized pedals to accommodate individual requirements.
For example, if you have a long inseam, a custom bike can be designed with a longer frame to ensure that your knees don’t hit the handlebars during your pedal stroke. If you’re recovering from an injury, you might need a custom bike that reduces stress on a specific part of your body, such as your lower back or wrists.
6. Long-Term Investment in Your Cycling Experience
While custom bikes can come at a higher initial price point, they represent a long-term investment in your cycling experience. A well-designed and well-built custom bike will last for many years, and its performance improvements will keep you enjoying your rides day after day. You won’t have to upgrade or replace parts as often as you might with an off-the-shelf bike, which often has subpar components that wear out quickly.
Additionally, a custom bicycle is often more valuable in terms of resale, as it’s built with high-quality components that appeal to niche riders.
7. Expert Craftsmanship and Attention to Detail
At Trifox, we take pride in our craftsmanship. Each custom bike we create is the result of careful planning and meticulous attention to detail. We work closely with each customer to understand their specific needs and preferences, ensuring that every bike we build is a perfect fit for them.
Whether it's adjusting the frame geometry for a better fit, fine-tuning the components for optimal performance, or ensuring the aesthetics are spot on, we go the extra mile to ensure that your custom bike exceeds expectations.
8. Sustainability and Environmental Impact
In an age where sustainability is increasingly important, custom bikes can be a more eco-friendly choice compared to mass-produced alternatives. Because custom bikes are made to order, there is typically less waste involved in the manufacturing process. You’re also investing in a product that is built to last, meaning you won’t be contributing to the cycle of constant bike replacements that contribute to environmental degradation.
By choosing quality over quantity, custom bikes are a more sustainable option in the long run.
Final Thoughts: Elevate Your Cycling Experience with a Custom Bike
A custom bicycle is more than just a mode of transportation; it’s a reflection of your personal style, needs, and aspirations as a cyclist. The personalized fit, performance optimization, and design flexibility make it the ultimate choice for those who want to elevate their cycling experience.
At Trifox, we are passionate about creating custom bikes that provide unmatched comfort, performance, and style. If you’re ready to take your cycling to the next level, a custom bicycle could be your perfect match. Visit Trifox bike official store today to explore our full range of custom bikes and start building your dream ride.

When it comes to enhancing your cycling performance, the handlebar is one of the most important components to consider. Not only does it affect your riding posture and comfort, but it also plays a crucial role in the overall handling and control of your bike. For athletes and enthusiasts looking to fine-tune their ride, choosing the right sports bike handlebar is essential. Trifox’s range of carbon bike handlebars provides the perfect balance of performance, comfort, and durability, making it easier to find a handlebar that suits your riding style.
Understanding Handlebar Types
There isn't a one-size-fits-all handlebar for sports bikes. The right choice depends on factors like your riding discipline, body type, and personal preferences. Here are the key types of handlebars to consider:
1. Flat Bars: Ideal for mountain biking or urban riding, flat bars provide excellent control and stability on rough terrain. These handlebars are typically lightweight and offer a neutral riding position that helps reduce strain on the back and wrists.
2. Riser Bars: Offering a higher position than flat bars, riser handlebars are great for those looking to improve control on technical trails. They provide better handling and can reduce stress on the rider’s arms and shoulders, making them ideal for aggressive riders or those tackling more challenging trails.
3. Drop Bars: Common on road bikes, drop bars allow for multiple hand positions, providing comfort and aerodynamic advantages during long-distance rides. These handlebars are perfect for riders who want to improve their speed and efficiency while maintaining control.
4. Aero Bars: Designed for triathlons and time trials, aero handlebars offer an aggressive, aerodynamic position to maximize speed and minimize drag.
The Trifox Carbon Advantage
When it comes to materials, carbon fiber handlebars are a top choice for serious riders. Carbon handlebars are known for their lightweight properties and exceptional strength-to-weight ratio, making them ideal for performance-driven cyclists. Trifox carbon handlebars are engineered with precision, providing stiffness where it’s needed most and absorbing road vibrations for a smoother ride.
Trifox's carbon handlebars are designed to reduce fatigue, allowing you to ride longer with less discomfort. The ergonomic design ensures that your wrists, shoulders, and elbows stay comfortable, even on longer rides or rough terrain. These handlebars are not only light but also incredibly durable, able to withstand the rigors of competitive cycling.
Comfort and Performance Combined
Ultimately, the perfect sports bike handlebar is one that aligns with your riding style and ensures both comfort and performance. Whether you’re looking for better control on mountain trails or aiming for speed on the open road, the right handlebar can make a significant difference. Trifox’s carbon bike handlebars provide superior performance while reducing fatigue and increasing comfort, making them an excellent choice for riders seeking to elevate their cycling experience.
Choosing the right handlebar doesn’t have to be complicated. With Trifox’s expertise and range of handlebars tailored for different cycling disciplines, finding the perfect fit has never been easier. Ready to upgrade your bike? The right handlebar could be the game-changer you’ve been looking for.
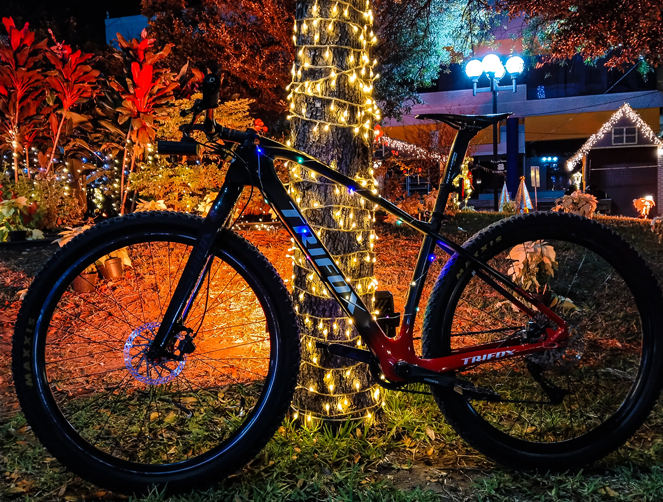
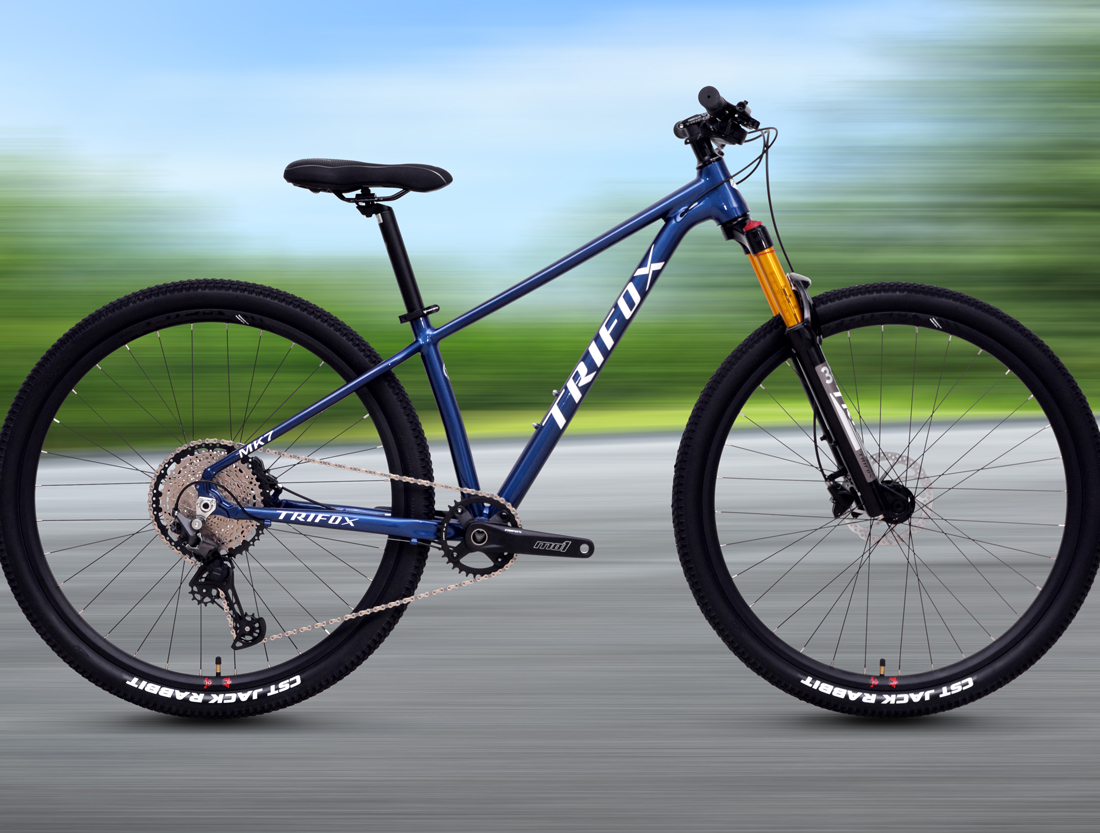
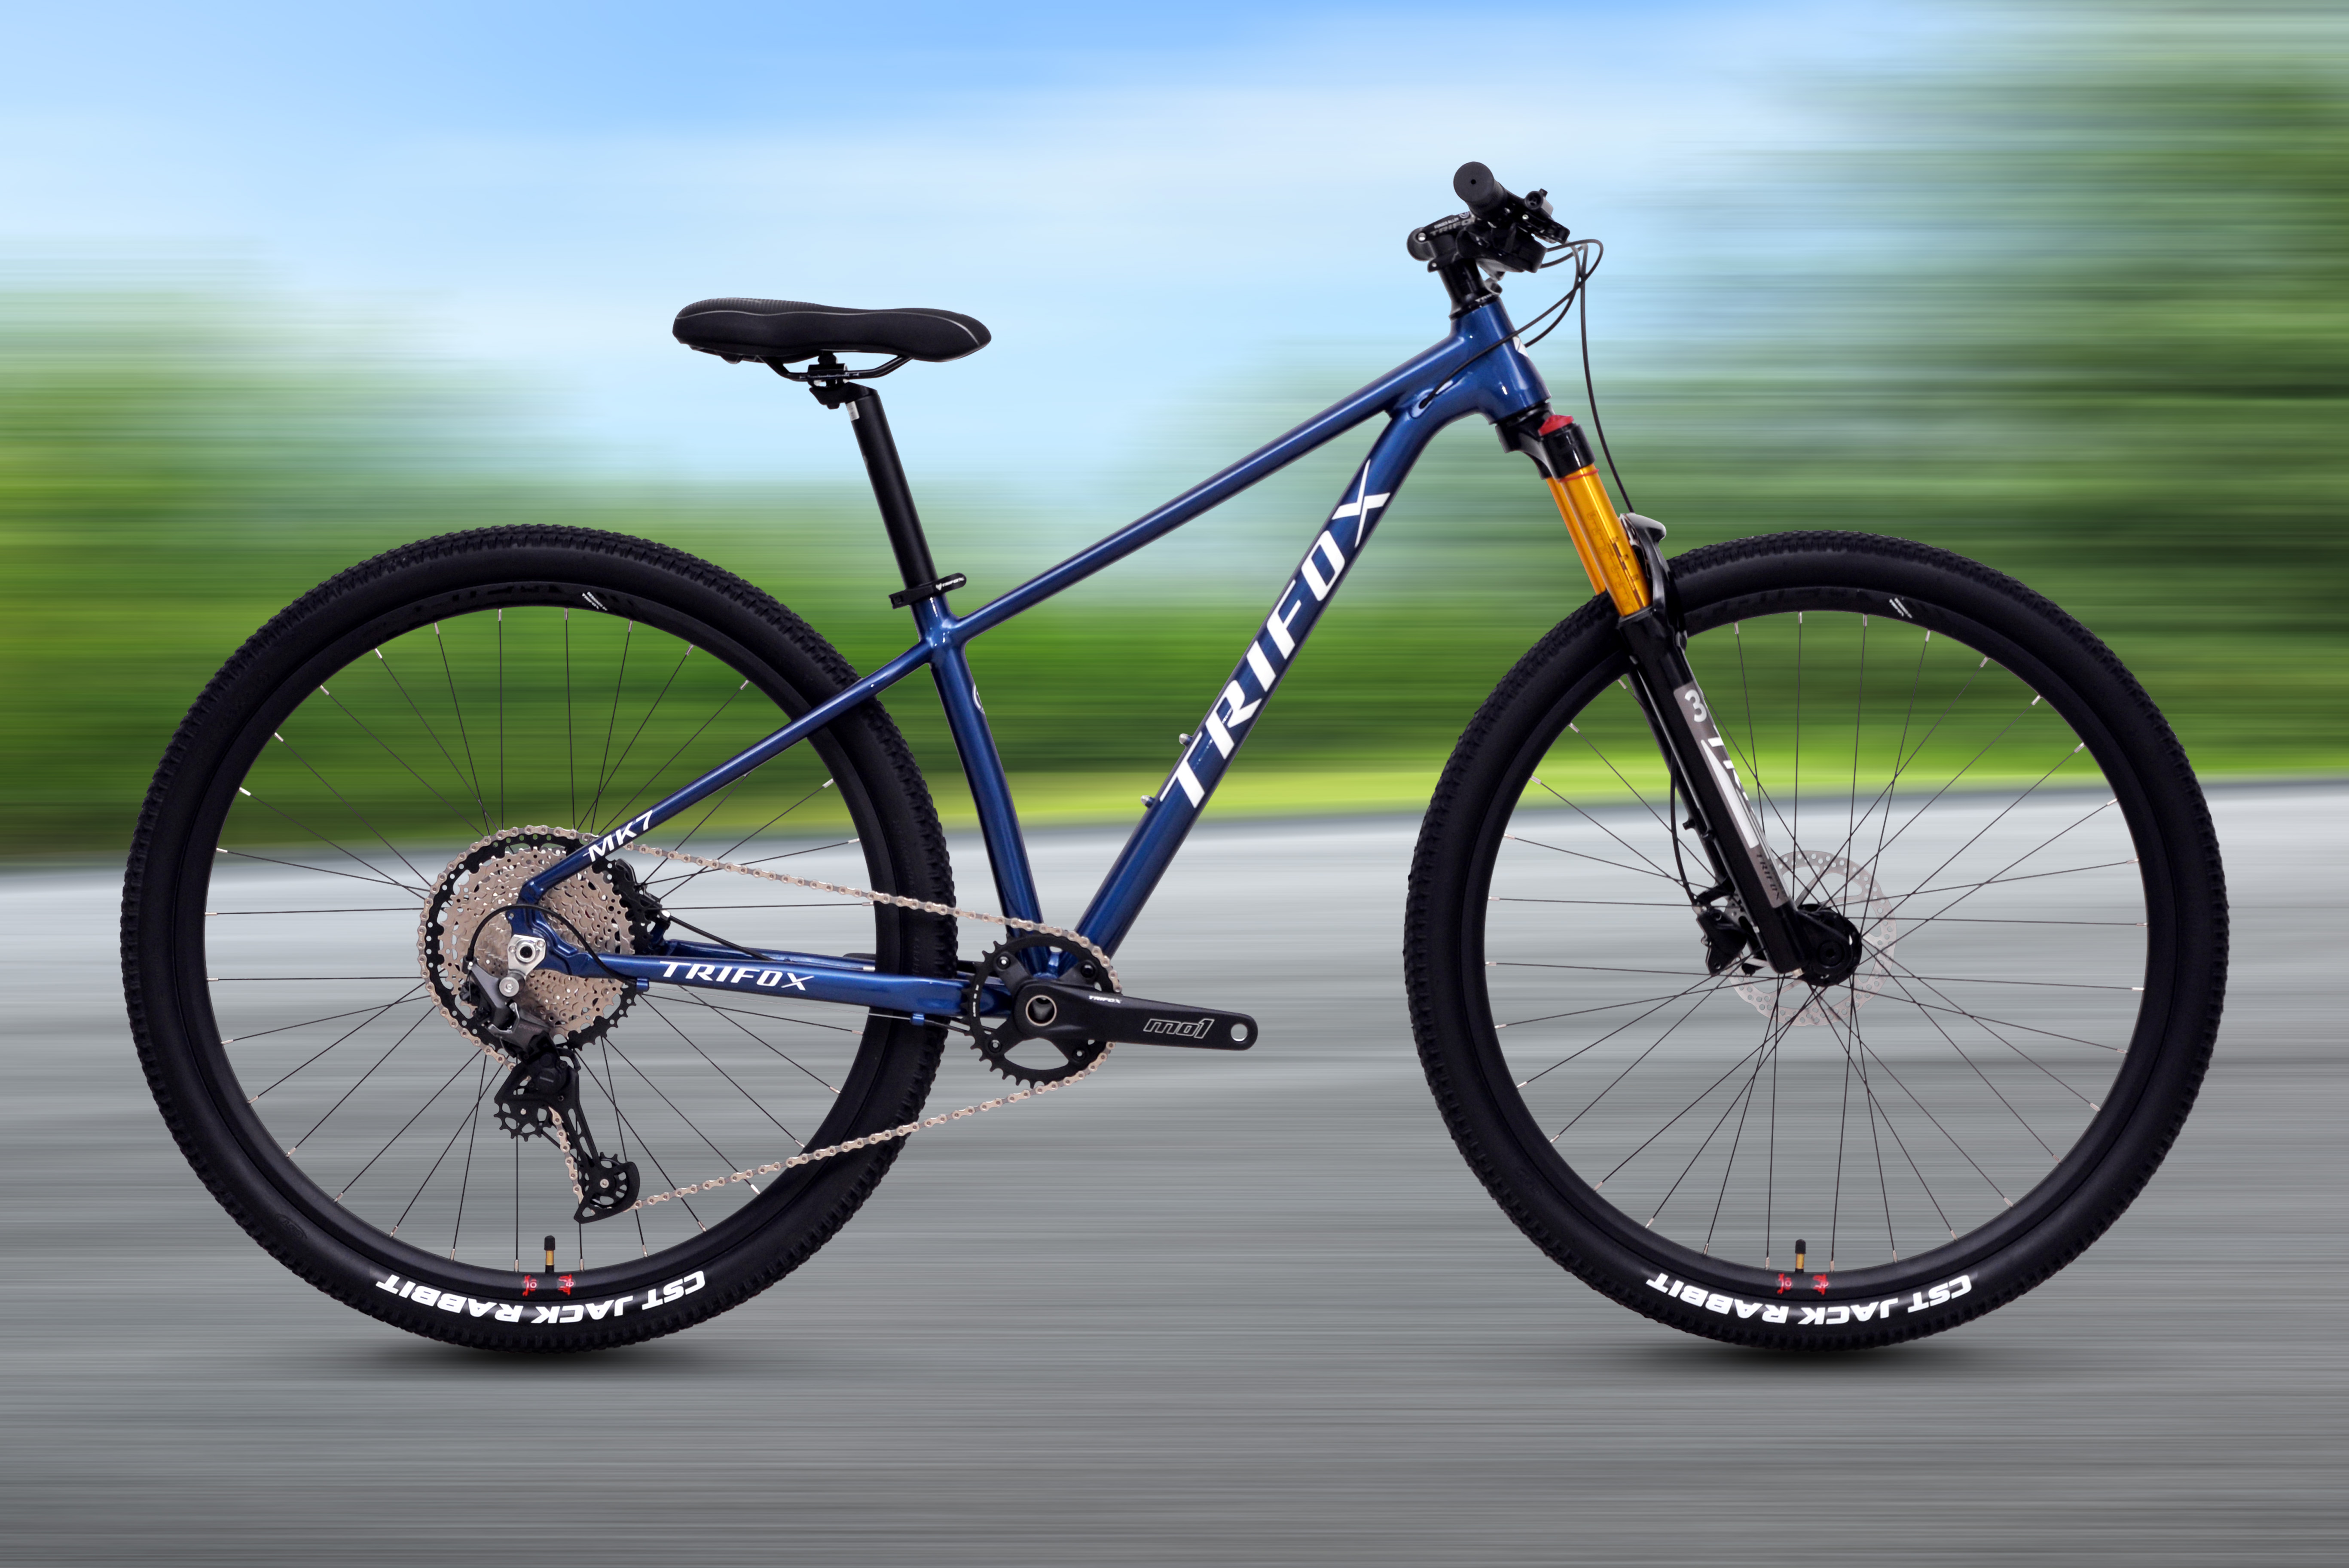
Mountain biking on tough, rugged trails can be a thrilling challenge, but it requires the right bike and technique to get the most out of every ride. If you're riding a Hardtail MTB M2 Bike, you're already ahead of the game. The Trifox M2 Bike, a hardtail mountain bike with a lightweight carbon frame, is designed to handle tough trails with ease, offering the perfect combination of speed, agility, and performance. However, to fully maximize the potential of your hardtail MTB on challenging terrain, there are a few key strategies and tips you can follow.
1. Optimize Your Tire Pressure for Better Traction
When riding on tough trails, tire pressure plays a critical role in maximizing traction and ensuring a smooth ride. Too much pressure can lead to less grip and a harsher ride, especially when hitting rocks, roots, and uneven surfaces. On the other hand, too little pressure may cause your tires to squish, increasing the chances of a pinch flat.
For the Trifox Hardtail MTB M2 Bike, consider running slightly lower tire pressure for better grip on rough trails. Typically, the ideal pressure range for mountain bike tires is between 30-40 PSI, but this can vary based on your weight, riding style, and trail conditions. Lower pressure allows your tires to conform to the terrain, increasing the surface area in contact with the ground and improving traction, especially on loose dirt, gravel, and wet conditions.
Remember to check your tire pressure before each ride, especially on tougher terrain, as it can significantly impact your ride quality and control.
2. Set Up Your Suspension for Performance
Although the Hardtail MTB M2 Bike is a hardtail, meaning it doesn’t have rear suspension, it’s still crucial to fine-tune your front suspension fork for maximum performance. The front suspension is the primary shock absorber on a hardtail, and adjusting it properly can make a world of difference when tackling rough trails.
For tougher trails, you’ll want to adjust the rebound damping and compression settings of your front suspension. If you're encountering a lot of rough, rocky terrain, a slightly higher rebound setting will allow the suspension to recover faster between bumps, giving you more control on the trail. Similarly, the compression settings can be adjusted to match the trail conditions—more compression for aggressive, technical riding or less compression for smoother trails.
The Trifox M2 Bike features a high-quality suspension fork, so take the time to experiment with different settings until you find the optimal balance for your riding style and the type of trails you frequent. Fine-tuning the suspension will help improve both comfort and control.
3. Master Your Riding Technique on Tough Terrain
While your Hardtail MTB M2 Bike is built for speed and control, how you ride it on tough trails makes a huge difference in your performance. Here are some key tips for riding efficiently on rough terrain:
Stay Loose and Relaxed: When riding over technical sections like rocks, roots, and drops, it’s important to stay loose on the bike. This means keeping your elbows and knees slightly bent, absorbing bumps with your body, and letting the bike move beneath you. Tensing up can cause unnecessary fatigue and reduce your control on the trail.
Choose Your Lines Wisely: On tough trails, you’ll need to pick the best line through obstacles to avoid unnecessary jarring impacts. Look ahead and plan your path, aiming for smoother sections of the trail while avoiding larger rocks and roots when possible.
Keep Your Pedal Stroke Smooth: Hardtail bikes require a smoother pedal stroke, especially when climbing or riding over uneven terrain. On rocky or uphill sections, try to maintain a consistent rhythm with your pedaling to avoid jarring stops or stalls.
4. Use Your Brakes Strategically
Braking is an essential skill when navigating tough trails. On a Hardtail MTB M2 Bike, you don’t have the rear suspension to help absorb the shock when you brake hard, so it’s important to use your brakes efficiently to avoid losing control.
For technical sections or steep descents, use both brakes evenly and focus on modulating them to control your speed. Avoid slamming on the brakes, especially in slippery or loose conditions, as this can cause you to lose traction and control. Instead, apply steady, controlled braking, and focus on using the front brake to slow down gradually, while the rear brake helps with stability.
5. Maintain Your Hardtail MTB M2 Bike Regularly
A key part of getting the most out of your Hardtail MTB M2 Bike is regular maintenance. A well-maintained bike will perform better and last longer, especially when it’s being subjected to the rigors of tough trails. Here are a few maintenance tips to keep your bike in peak condition:
Check your chain and drivetrain regularly for wear and tear, as rough trails can put additional strain on these components.Inspect your tires for cuts, punctures, and proper pressure. Worn-out tires can significantly reduce your traction on tough terrain.Lubricate the suspension fork to ensure it moves smoothly and absorbs shocks effectively.
6. Embrace the Hardtail Experience
Lastly, remember that riding a hardtail like the Trifox Hardtail MTB M2 Bike requires a different approach compared to full-suspension bikes. While full-suspension bikes provide more comfort on rough trails, hardtails like the M2 offer increased efficiency, lighter weight, and better pedaling performance. Embrace the challenge of the hardtail design, and use the bike’s responsiveness to your advantage on smooth sections, climbs, and sprints.

Conclusion
The Hardtail MTB M2 Bike is a fantastic choice for mountain bikers who want to conquer tough trails with efficiency and speed. By optimizing your tire pressure, fine-tuning your suspension, mastering riding techniques, and performing regular maintenance, you can get the most out of your hardtail and enjoy a smoother, more controlled ride on even the most challenging terrain. Whether you're navigating rocky descents, sharp turns, or steep climbs, your Hardtail MTB M2 Bike will help you ride with confidence and performance on tough trails.

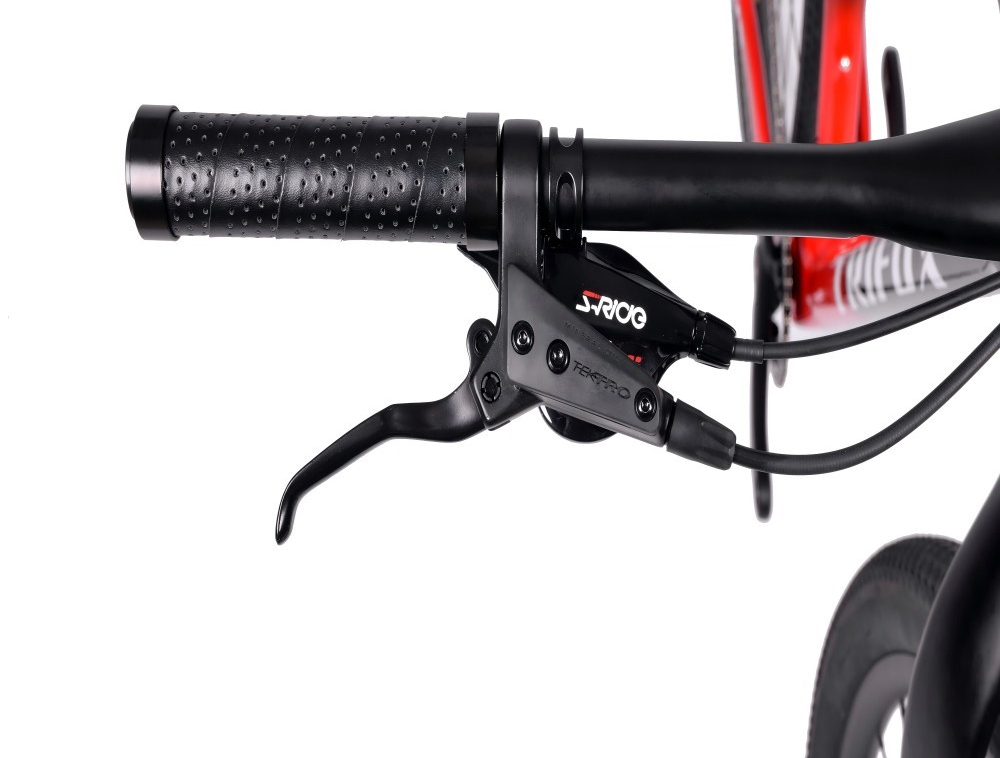
When tackling rough, rugged terrain on your mountain bike (MTB), control and comfort are paramount. The key to maintaining both lies in the often-overlooked component of your bike: the MTB grips. While they may seem like a small detail, the right grips can significantly enhance your riding experience, particularly when navigating challenging trails, rocky paths, and steep inclines.
1. Improved Grip and Stability
One of the primary functions of MTB grips is to offer a secure hold on the handlebars, especially in rough conditions. When you're riding on uneven trails, your hands can easily slip if your grips aren't designed to provide enough traction. This can be dangerous, particularly when riding downhill or over obstacles, as a lack of control can lead to accidents.
The Trifox MTB Handlebar Grip (MBT100), for example, is specifically designed to provide a non-slip surface that allows you to maintain a firm grip in all weather conditions, whether it’s wet, dry, or muddy. The textured surface and ergonomic design of these grips reduce the chances of your hands sliding, helping you stay in control even during the most aggressive rides.
2. Enhanced Comfort for Long Rides
Riding on rough terrain can be physically demanding, and if your grips are too thin or hard, they can cause hand fatigue and discomfort. Over time, the constant vibrations from bumps, rocks, and roots can lead to numbness or soreness in your hands and wrists. This is where the right MTB grips come in—designed with padding or vibration-damping materials, they can absorb much of the shock, making long rides much more comfortable.
Grips like the Trifox MTB Grips feature soft rubber compounds and ergonomic shapes that distribute pressure evenly across your palms and fingers. This cushioning effect reduces the vibrations that travel up your arms, minimizing hand fatigue and discomfort, and allowing you to ride longer without feeling the effects of rough terrain. With proper MTB grips, you can enjoy greater comfort and focus on your ride, not on the pain in your hands.
3. Increased Control Over Technical Sections
On technical trails, where sharp turns, drops, and obstacles are common, the ability to control your bike is crucial. Grips with a solid, ergonomic design give you greater leverage and precision when navigating tight corners, steep descents, and obstacles like rocks and roots. When your hands are comfortable and securely positioned, you can apply better force to the handlebars, improving your control over the bike.
The Trifox MTB Grips (MBT100) are designed with a dual-density grip pattern, ensuring a high level of traction without being overly aggressive, which allows for smooth handling of technical sections while maintaining comfort. This enhanced control is particularly valuable when riding in areas with loose gravel or mud, where stability is essential for safe, efficient riding.
4. Reduced Hand Fatigue with Ergonomic Features
In addition to cushioning and vibration dampening, many MTB grips incorporate ergonomic features that target specific areas of the hand, such as the palm and the thumb. By contoured designs or soft ridges that fit the natural shape of your hand, these grips reduce pressure on key areas, leading to less fatigue over long rides. This is especially important when riding on rough terrain, where you need to maintain a strong grip without tiring quickly.
The Trifox MTB Grips are ergonomically shaped to fit the contours of your hands, ensuring that even on the most technical trails, you can maintain a comfortable grip. Their thoughtful design also allows for natural hand movements, so you won’t have to overexert yourself to keep a steady hold on the bars.
5. Better Shock Absorption for Rough Terrain
As you navigate rough terrain, the shocks from bumps and jumps can reverberate through your bike’s frame, sending vibrations directly into your hands and arms. MTB grips designed with shock-absorbing materials can mitigate these impacts, ensuring a smoother ride. Foam or gel inserts, for example, can cushion these shocks and reduce the vibrations that could otherwise lead to discomfort or long-term injury.
With the Trifox MTB Grips, the high-quality material composition and shock-absorbing properties help reduce the impact of trail obstacles on your hands and wrists, providing additional comfort and control. This feature is particularly helpful on longer rides, where continuous vibrations could otherwise wear you down.
6. Customization for a Personalized Ride
MTB grips come in a variety of shapes, sizes, and materials, which means you can find a pair that suits your personal riding style and comfort needs. Whether you prefer thicker grips for more cushioning or thinner ones for better feedback, customizing your grips allows you to tailor your bike setup to your preferences. Additionally, grips come in different colors and designs, so you can choose a set that matches your bike’s aesthetics.
The Trifox MTB Grips offer several options for riders to personalize their setup, allowing for maximum comfort and a performance-oriented design that fits your needs on the trail. With a wide range of designs and materials to choose from, you can find the perfect grips to complement your mountain biking style.
When riding on rough terrain, MTB grips play a crucial role in ensuring that you maintain control, comfort, and performance. With the right grips, you can improve your handling, reduce hand fatigue, and ride longer and harder without sacrificing comfort. The Trifox MTB Handlebar Grip (MBT100) is a perfect example of how quality grips can enhance your experience on technical trails, providing excellent traction, shock absorption, and ergonomic comfort.
If you're looking to take your mountain biking to the next level, investing in high-quality MTB grips is a smart choice. They might seem like a small detail, but the difference they can make to your control, comfort, and overall performance is anything but insignificant. Choose the right grips, and you’ll be ready to conquer any trail that comes your way.
One of the most critical components of a bicycle that directly affects your comfort on long rides is the bicycle saddle. The right saddle can make all the difference between a smooth, enjoyable cycling experience and an uncomfortable, painful one. If you’re spending hours in the saddle, you’ll quickly notice how crucial comfort is. However, with so many options available, how do you find the most comfortable bicycle saddle for your specific needs?
1. Consider Your Riding Style
First and foremost, your saddle choice should align with the type of cycling you do. Different cycling disciplines demand different saddle features:
Road Cycling: For long rides and high-performance cycling, a road saddle is typically narrower with a lightweight design. It supports an aggressive riding position, focusing on aerodynamics and minimal friction.
Mountain Biking (MTB): MTB saddles are generally wider and more padded, offering extra comfort for off-road terrain. These are designed to handle rough trails and provide support when cycling through challenging landscapes.
Commuting or Casual Cycling: If you’re cycling for leisure or commuting, a saddle with more padding and a comfortable design will help you ride longer distances without discomfort.
Understanding your riding style is crucial to picking the right saddle, as each type offers distinct features that cater to your specific needs.
2. Evaluate Saddle Shape and Width
Saddle shape is vital in ensuring proper support. The most important factor here is your sit bones—the bony parts of your pelvis that make contact with the saddle. A saddle that’s too narrow or too wide can create pressure points, leading to discomfort.
Wide Saddles: These are better suited for people with wider sit bones or those riding in a more upright position.
Narrow Saddles: These are ideal for riders with narrower sit bones or those who ride in a more aggressive, forward-leaning position.
When selecting a saddle, try to get an accurate measurement of your sit bones, either by visiting a bike shop or using an online guide to determine the appropriate width. Many high-quality saddles come in various widths to suit different body types.
3. Choose the Right Padding and Material
While cushioning is important, more padding doesn’t always equate to more comfort. Too much padding can lead to chafing and discomfort, especially if you’re cycling for long periods. Instead, look for padding that’s dense but comfortable, and made of materials that allow air circulation to reduce sweat and heat buildup.
Gel Padding: Offers excellent comfort and shock absorption. Ideal for short to medium-distance rides.
Foam Padding: More common in performance-oriented saddles. It’s lightweight and provides sufficient comfort while avoiding the bulk of thicker gel inserts.
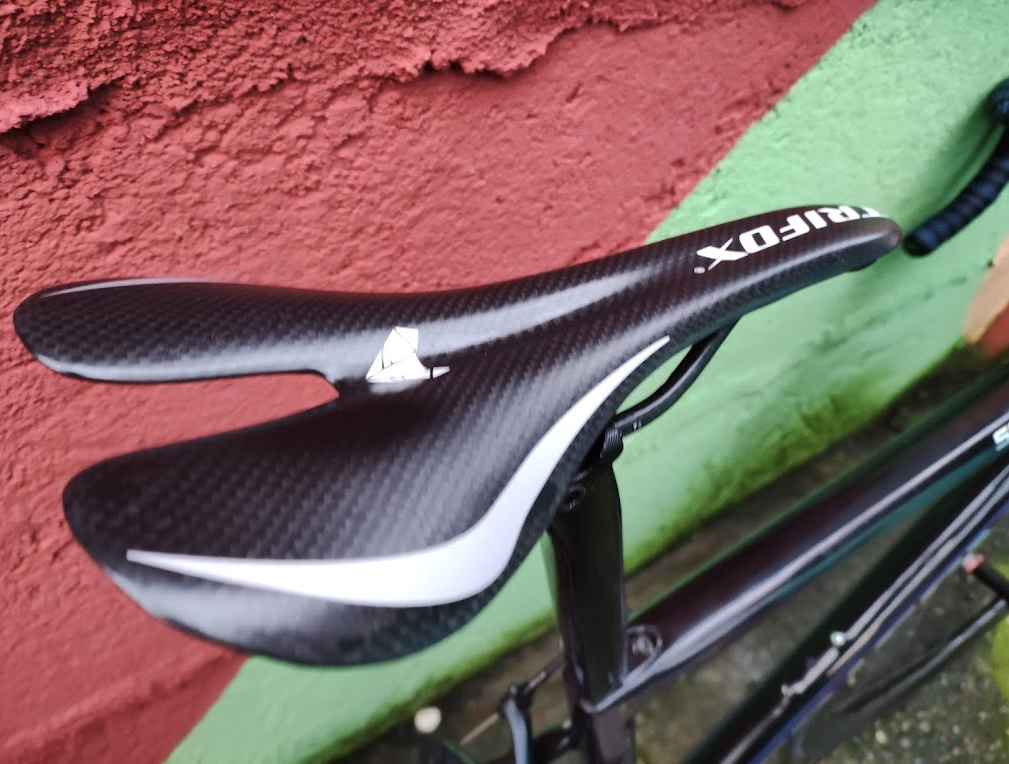
Carbon Fiber or Synthetic Materials: High-performance saddles often use carbon fiber or lightweight composites for strength, durability, and minimal weight.
The Trifox Carbon Bike Saddle is a perfect example of this. Combining lightweight carbon with memory foam padding, it offers the right balance of comfort and performance, ensuring a smooth ride over long distances while keeping the overall bike weight low.
4. Test Different Options
When shopping for a saddle, comfort is key. If possible, visit a bike shop that allows you to test ride different saddles. Test them on your bike, ride for a few miles, and pay attention to how your body feels. Some bike shops also have saddle fitting services that can help you select the right saddle based on your anatomy and riding style.
For a quick but effective way to narrow down your options, consider the Trifox Carbon Bike Saddle, which offers an ergonomic design that conforms to your body shape, providing excellent comfort without compromising performance.
5. Look for Durability and Quality
Comfort is crucial, but durability matters just as much. A high-quality saddle will last longer, hold up to daily use, and maintain its shape and comfort over time. Look for saddles that are well-constructed with strong materials like carbon fiber, titanium, or stainless steel rails, as they offer better durability and weight savings.
The Trifox Carbon Bike Saddle is engineered to be both durable and lightweight, featuring a carbon fiber base and high-quality cover materials designed to withstand long hours of cycling without losing shape.

Finding the most comfortable bicycle saddle is essential for improving your ride experience. Consider your riding style, saddle shape, width, padding, and materials when making your choice. Testing different saddles is also a great way to find what works best for you. For riders looking for high-performance comfort, the Trifox Carbon Bike Saddle is a great option, combining lightweight carbon with memory foam for the perfect balance of comfort and durability.
By selecting the right saddle, you'll not only enhance your comfort but also improve your cycling performance, making every ride more enjoyable.

When it comes to cycling, the idea of a "one-size-fits-all" bike is simply not a reality. Every cyclist is unique, with different body types, riding styles, and needs. Whether you're a seasoned racer, a commuter, or a casual weekend rider, finding the right bike can make all the difference in your comfort, performance, and overall enjoyment. In this blog post, we’ll explore how you can choose the perfect bike for your needs and highlight some great options, such as the Trifox Disc Brake Carbon Road Bike Frame X10, that can accommodate a wide range of riders.
1. Understanding the Basics of Bike Fit
The first step in selecting a bike is understanding the importance of bike fit. A well-fitting bike can reduce discomfort, improve efficiency, and prevent injuries. When choosing a bike, there are several factors to consider, including frame size, geometry, and the type of riding you plan to do. A road bike frame, for instance, will differ from a mountain bike frame in terms of angles, material, and design to suit the intended riding environment.
If you're new to cycling or uncertain about your fit, it’s worth visiting a local bike shop where professionals can help you find the right size and adjust the bike for your specific body measurements.
2. Versatility of the Trifox X10 Carbon Road Bike Frame
A perfect example of a bicycle suitable for a wide range of riders is the Trifox Disc Brake Carbon Road Bike Frame X10. This bike is designed with versatility in mind, offering a comfortable ride for both beginners and more experienced cyclists. Whether you're using it for commuting, weekend rides, or racing, this carbon road bike frame can be customized to meet various rider needs.
The X10 frame is made from high-quality carbon fiber, which provides a lightweight yet durable structure. Carbon fiber is known for its ability to absorb vibrations, offering a smoother ride over rough surfaces. Additionally, carbon frames can be stiffer than aluminum, improving power transfer, making the X10 ideal for riders who want an efficient bike for both speed and comfort.
3. Frame Geometry for Different Riders
The geometry of a bike frame determines its overall fit, comfort, and handling characteristics. The Trifox X10 features an aerodynamic and balanced design, with a slightly relaxed riding position that is comfortable for long rides without compromising speed. The frame is designed to accommodate different riders, from those who prioritize comfort to those who prefer a more aggressive, race-ready position.
For beginner cyclists or those who spend most of their time on flat roads, a more upright position may be preferable. The X10's geometry allows for easy adjustment of handlebars and saddle to create a more comfortable, relaxed posture. For more experienced riders or those seeking performance on faster rides, the aggressive drop of the handlebars can position the rider lower and forward, reducing wind resistance for improved aerodynamics.
4. Disc Brakes for All Conditions
One of the key features of the Trifox X10 is its disc brake system, which provides better stopping power in all weather conditions. Whether you're riding in the rain or on steep hills, disc brakes offer superior performance compared to traditional rim brakes. This makes the bike suitable for a variety of riders, including those who live in areas with challenging weather conditions or who like to explore diverse terrains. Disc brakes also provide more control and stability, which is especially important for newer riders or those who prioritize safety.
5. Customization and Future-Proofing
The Trifox X10 is built with future-proofing in mind. As cyclists' needs evolve, the ability to customize your bike is crucial. The frame can be paired with a variety of components, such as wheels, handlebars, and saddles, to suit personal preferences. This flexibility ensures that the bike grows with the rider, offering long-term value and adaptability.
Finding the perfect bike doesn’t have to be a daunting task. Whether you're a beginner or an experienced cyclist, there are plenty of options that cater to different needs. The Trifox Disc Brake Carbon Road Bike Frame X10 is a great example of a versatile bike suitable for a wide range of riders.
With its lightweight carbon frame, customizable fit, and advanced disc brake system, the X10 ensures that cyclists of all experience levels can enjoy a smooth, comfortable, and safe ride. So, take the time to explore your options and choose the bike that fits your unique riding style — your perfect fit is out there!


