1. Cycling skills
For those who are not very proficient in riding mountain bikes, what is the normal posture?
The upper body is low, looking down a bit, looking down 10 meters on the road ahead, with the head slightly inclined forward;
The two hands should be bent naturally, not too straight. If the two hands are too straight, the hands will be numb and tired, and the hands will bend, which is convenient for bowing at the waist, lowering the body's center of gravity, and preventing the impact caused by the bumps of the car from being transmitted to the whole body; Both hands held the handlebar lightly and forcefully and seated the saddle firmly.
2. Pedal skills
There are three pedaling methods for bicycles: toe down, Freestyle pedaling, and heel down.
2.1. Toes down:
The characteristic of this kind of pedal is that the toes are always downward during the entire riding process. This method has a smaller ankle joint range of motion, which is more conducive to increasing the frequency and easy to master, but the leg muscles are always in a state of tension, which is not conducive to Naturally passing through smaller places.
2.2. Freestyle pedaling:
At present, some elite riders mostly adopt the freestyle pedaling method. This kind of pedaling method means that the angle of the ankle joint changes according to different parts of the foot during a full rotation.
Free pedaling conforms to the principle of mechanics. The direction of force is consistent with the circular tangent formed when the pedal is rotated. This reduces the motion range of the knee joint and thigh, which is beneficial to increase the pedaling frequency, pass the critical zone naturally, and reduce the dead point. . The thigh muscles can also be relatively relaxed. But this pedaling method is more difficult to master.
2.3. Heel down:
The heel-down pedaling method is slightly upward with the toes and the heel down by 8~15 degrees. This method is rarely used in normal cycling, but only a few people use the heel-facing method when they make excessive adjustments during cycling. Down pedal method.
Its characteristic is that the muscles change their exertion state in a short time, get a short rest, and achieve the purpose of restoring muscle fatigue.
3. Turning skills
3.1 Tilt method:
The bike body is a line, leaning into the curve. The body's center of gravity is based on the tilting of the bike into the corner and maintaining the rider's body and the bike at the same tilt angle.
Straighten the outer knee and subconsciously increase the strength, as if you are going to step on the foot (but if you actually step on it, be careful not to slip and avoid falling).
Press your inner knee against the beam. This is a good way to adjust your trajectory. Reduce the pressure to reduce the curvature. The outer hand slightly pulled up the handlebar.
Two good times to use tilt:
Can use not too-sharp corners (less than 45 degrees) to accelerate, can clearly see the unfamiliar corners ahead
Two defects of inclination on wet asphalt roads:
On rainy days, although this turning technique can give you good traction, its angle and weight distribution, and arrangement are not conducive to slippery roads; the tilt technique is not as sensitive as the corresponding twist.
3.2. Grasp the direction
Keep the bicycle upright and lean into the bend. Move forward until the nose and brake lever is in line. Keep the bicycle upright, tilt your body into the bend (enough to straighten the outer arm), and tilt the handlebar to the inner side of the bend. Bend the elbow of the inner arm to pull the handlebar back while the outer arm pushes out the handlebar to turn the handlebar direction. Keep both knees buckled inward and continue pedaling.
4. Uphill and downhill skills
Uphill and downhill riding skills are important basic technology for mountain biking.
4.1: Cycling uphill skill
Cycling Uphill should maintain a normal pedaling action and not use sudden force. Under normal circumstances, it is not advisable to use standing cycling or lifting cycling methods, otherwise, it will consume too much energy.
When encountering short-distance slopes, you should make full use of the inertial principle of object motion, pedal easily, and stand up riding when approaching the top of the slope, increase the speed as much as possible, and create favorable conditions for acceleration downhill.
When encountering a long uphill slope, you should adjust the transmission ratio in time according to your physical strength. Don't wait until you can't ride and the speed has completely dropped before changing the transmission ratio. Resolutely avoid the phenomenon of restarting. For long slopes or steep slopes, stand-up cycling methods can be used alternately to adjust the harder parts and let some muscles rest.
Do not follow the car too close when going uphill. Due to the force of the uphill, the driving often swings from side to side, and a collision may occur if you follow the bicycle too close. Furthermore, the speed drops significantly when going uphill, and following the car will restrict one's cycling method.
4.2: Downhill biking skill
To achieve the desired effect of downhill biking, one must be brave and witty, bold and careful, and concentrated, keep a close eye on the road ahead, and be ready to deal with any situation on the road decisively; Dare to pedal actively and increase speed.
When turning, keep the body and the bicycle in line, lean inward, and keep the upper body and the bicycle in a straight line to overcome centrifugal force. The angle of inclination depends on the speed and the size of the curve, but generally, it should not exceed 28 degrees, otherwise, there is a risk of slipping.
Control the speed before turning. Use the method of tapping the brakes to gradually slow down. When braking, use the front and rear brakes as much as possible. The front brakes can be slightly advanced. When using the front brakes, the direction of the front wheel must be consistent with the forward direction of the bike. Otherwise, it will be due to the weight of the rider. The bike's inertia was restricted and caused a fall. Release the brakes after entering the curve to avoid unnecessary deceleration. Do not use the back brake too hard on the curve. Otherwise, the bike may turn around or slip.
5. Braking skills
The front brake can provide you with very good braking force, but it can also turn you into a trapeze. Below we show you how to break. Move the center of gravity back when using the front brake.
When you use the front brake, your center of gravity will naturally move forward due to inertia. You must practice when you start to break, consciously move your center of gravity back (lower your body and move your butt back). The more you move the center of gravity back, the more braking power you can use.
You can practice on sandy or a bit slippery flat ground, speed up and use different forces to press your front and rear brakes, and learn how to control your brakes. Or ask the master how he uses the brakes while cycling.
Reduce the power of the front brake when turning
As with driving a car, you have to slow down when turning. If you press your brakes hard while turning, you will slip and lose control. Use your front and rear brakes at the same time to reduce your speed when turning. When you brake, your front wheel's reaction will decrease, so reducing the front brake force will make your turn more perfect.
If you are in a sharp turn downhill and need to use the brakes, try to use the power of the rear brake. For example, on flat ground, when braking at the last moment, lower the center of gravity and use 30% of the front and 70% of the braking force behind to make a braking action.
Don't press the front brake excessively
"Inertia is your friend", you need speed to pass rocks and obstacles. Otherwise, the wheels will stop turning and throw you over the handle. Depressing the front brake excessively will move your center of gravity forward, causing the front of the bike to tilt down.
If you use the front brake in a steep downhill turn, you must control your front and rear brakes at the same time, and don't press them with excessive force. At this time, you can put the brakes on and off to prevent braking. The lock-up phenomenon occurs.
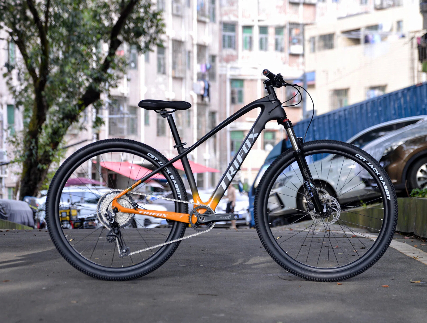
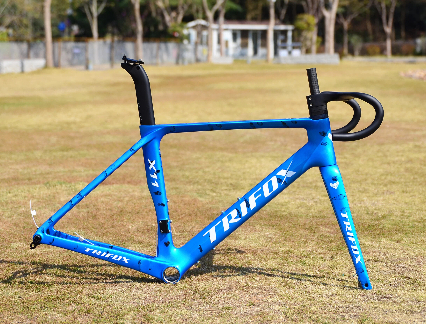
Buy High quality Carbon Fiber Mountain Bike Frame From Trifox
2023-02-28
Trifox
SHARE:


Comments