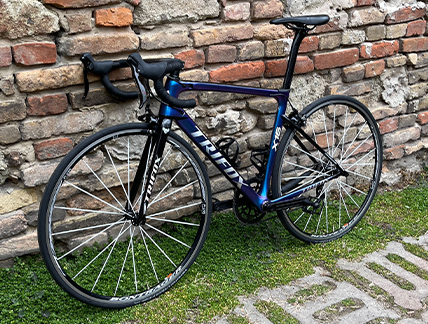
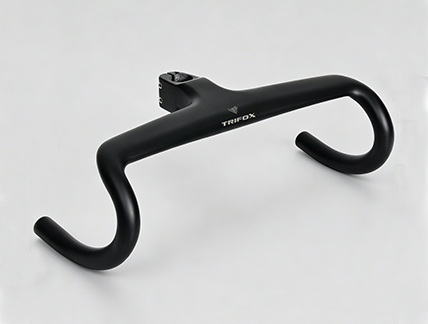
Upgrading your handlebar tape is one of the simplest ways to refresh your bike's look and feel. Quality bar tape like the Trifox BHT100 can transform your ride by providing better grip, cushioning road vibration, and giving your cockpit a clean, professional appearance. While the task might seem fiddly, with a little patience and the right technique, you can achieve a flawless wrap. Here’s our step-by-step guide to installing bicycle handlebar tape like a seasoned mechanic.
Before You Start: Preparation
Begin by removing your old tape and thoroughly cleaning the handlebar surface. Use isopropyl alcohol to remove any sticky residue. Ensure your brake levers are positioned correctly and that your handlebar end plugs are removed (new ones are included with the BHT100). Gather your new tape, scissors, and the finishing tape and end plugs provided in the kit.
Step 1: Begin at the Bar Ends
This is the foundation of a good wrap. Start by threading the new bicycle handlebar tape through the bar end, leaving about 2-3 inches protruding. This starting tab will be tucked inside later. Begin wrapping from the very end of the drop, working your way up towards the stem. Apply firm, even tension as you wrap, overlapping each new layer by about one-third to one-half of the tape's width. This overlap is crucial for preventing gaps and ensuring a comfortable, cushioned feel.
Step 2: Navigating the Brake Levers
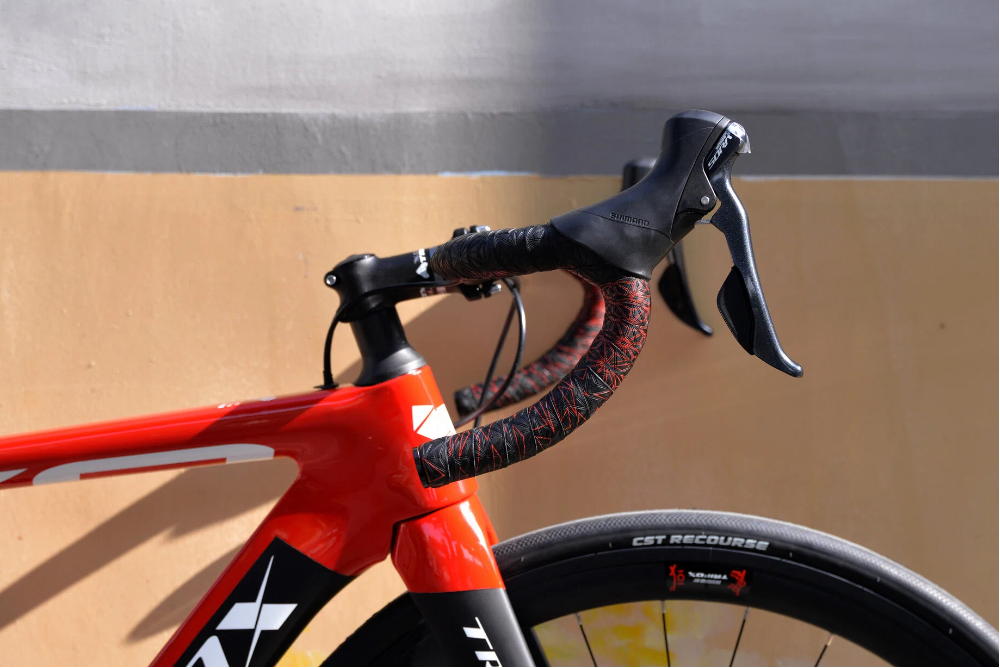
When you reach the brake lever clamp, you'll need to create a neat transition. A common technique is to make a small "figure-eight" or "half-lap" around the lever body. Simply pull the tape tight and carefully wrap it around the front of the lever clamp, then continue wrapping up the handlebar. The key is to maintain tension so the tape lies flat without bunching. The BHT100's EVA foam core is forgiving and compresses nicely around these contours.
Step 3: Finishing at the Stem
Continue wrapping until you reach the stem. Cut the tape with sharp scissors at a slight angle for a clean, tapered edge. Use the provided finishing tape—a thin, adhesive strip—to secure the end of the bar tape neatly against the bar. Wrap it around a few times, pressing firmly for a secure hold.
Step 4: Secure the Ends
Finally, insert the new handlebar end plugs that came with your BHT100 kit. These are not just cosmetic; they are essential for safety and prevent the bar tape from unraveling. Gently push the protruding starting tab of tape into the bar end before inserting the plug for a completely clean finish.
With these simple steps, your new Trifox bar tape will be installed perfectly, ready to provide miles of comfortable, confident riding. The BHT100's combination of shock-absorbing EVA foam and durable, easy-to-clean PU leather makes it an ideal choice for this upgrade. A fresh wrap of quality bicycle handlebar tape is a small investment that pays huge dividends in comfort and control on every ride.
2026-03-02
Trifox
SHARE:


Comments