Your bike computer is your command center, delivering vital data on speed, distance, and navigation. But if it’s angled poorly, you’ll be squinting, straining your neck, or taking your eyes off the trail for too long. Achieving the perfect angle is a simple yet transformative adjustment that enhances comfort, safety, and your connection to the ride. Here’s how to dial it in for any discipline.
Start with a Proper Mount
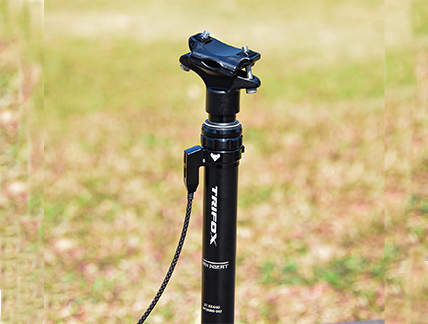
Before fine-tuning the angle, you need a solid and adaptable foundation. A high-quality mount, like the Trifox STH300, is essential. This isn't just alloy; it's the interface between your handlebar and your valuable device. Look for features that promise stability and versatility:
Secure Attachment: A robust clamp system that locks onto your handlebar without slippage, even on rough trails.
Adjustable Angle Mechanism: The core feature that allows you to fine-tune the tilt. A simple, tool-free lever or dial is ideal for on-the-fly adjustments.
Universal Compatibility: Ensure it fits your specific handlebar diameter and your computer’s mounting standard (e.g., Garmin, Wahoo).
A mount like the Trifox STH300 provides this reliable base, allowing you to focus on finding your optimal view. 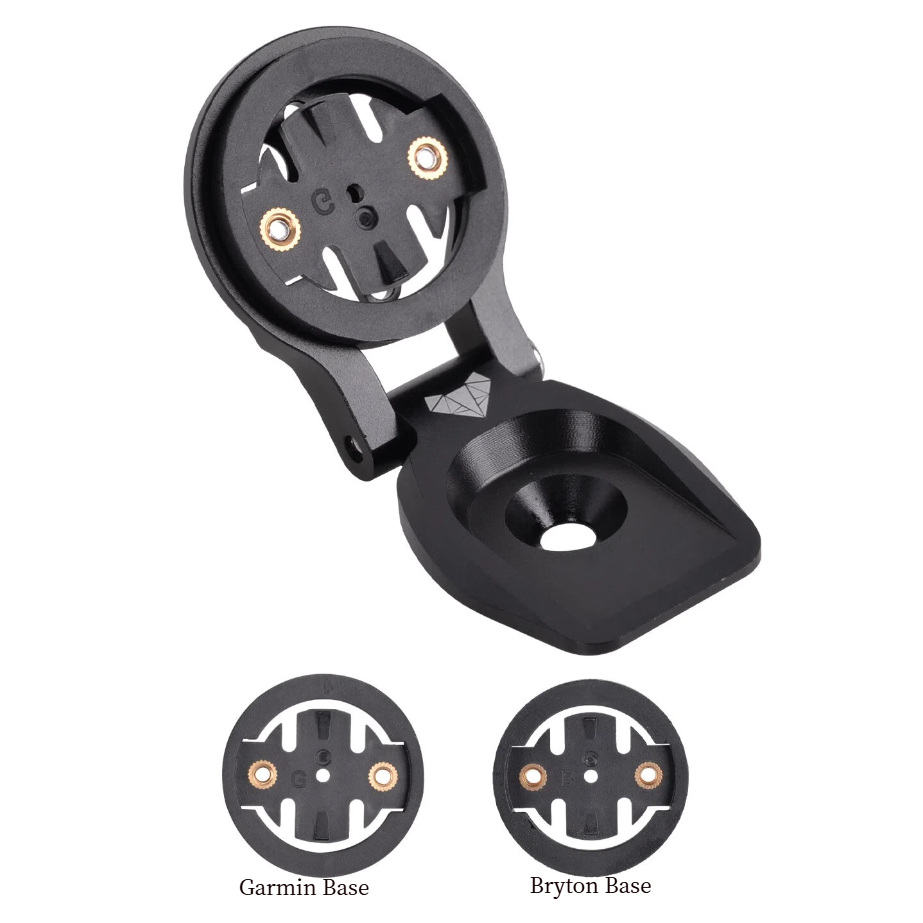
Finding Your Angle: Road vs. Mountain Bike Principles
The “correct” angle isn’t a single number; it’s dictated by your riding posture.
For Road & Gravel Riding (Aggressive Posture): When you’re in the drops or an aero tuck, your line of sight is lowered. Tilt the computer face slightly upward. This brings the screen perpendicular to your natural sightline, minimizing glare and making data easy to read without lifting your head. A good starting point is having the screen face roughly toward your chin when in your primary riding position.
For Mountain Biking & Upright Positions: On a trail bike or hybrid, your posture is more upright. The screen should be closer to level with the ground or tilted only very slightly upward. This prevents the display from being obscured by the handlebar or your hands and ensures quick glances for navigation or timer data. The key is to maximize the visible screen area from your higher vantage point.
The Simple Setup Method: The On-Bike Test
Forget protractors. Use this practical method:
1. Clip into your bike on a stationary trainer or have a friend hold you upright.
2. Assume your primary riding position—whether that’s in the hoods, drops, or a ready mountain bike stance.
3. Close your eyes, then naturally open them and look where your gaze falls.
4. Adjust the computer angle so the screen is facing directly into this natural line of sight. Your neck should feel neutral, not craned up or down. 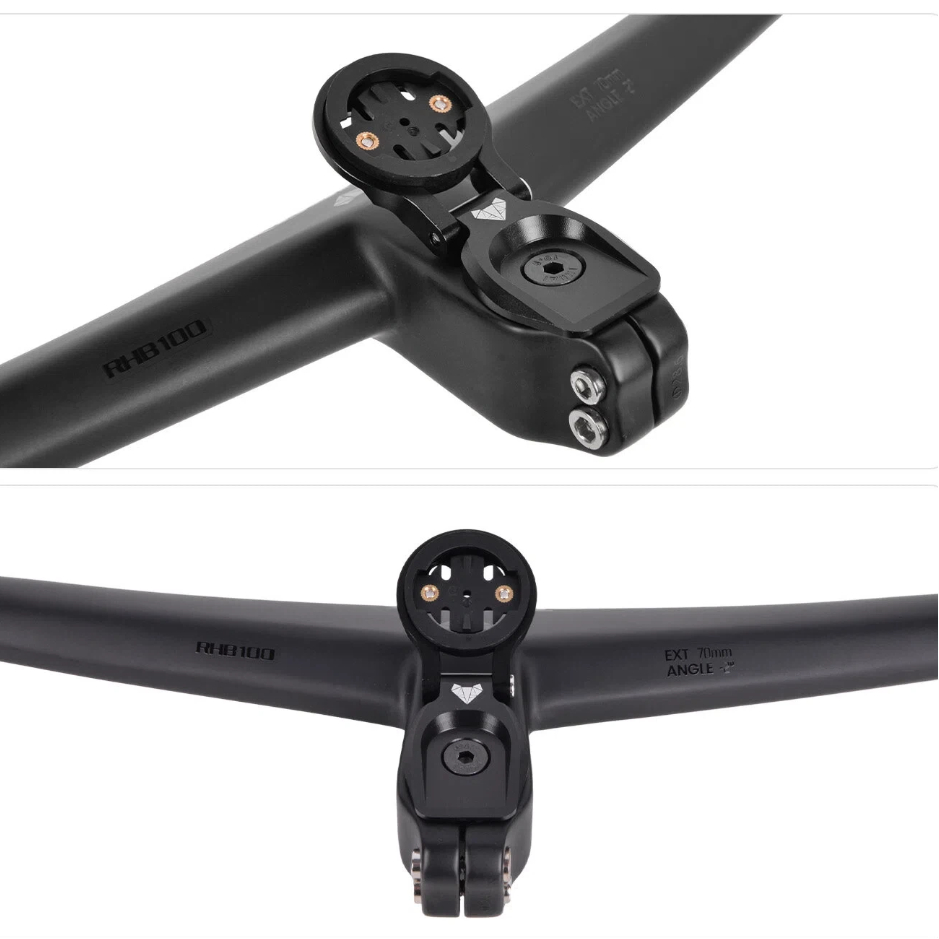
Pro Tips for Precision & Safety
Prioritize a Clear View: The screen should be completely visible, not blocked by cables, a bicycle light mount, or your hands. If you use a combined mountain bike computer mount and light bracket, position them so both devices have an unobstructed field of view.
Minimize Glare: Tilt the screen to avoid direct reflections from the sun or bright sky. A slight adjustment can make the difference between an illegible glare and a crisp display.
Ensure Stability: After setting the angle, check all fasteners. The computer should not wobble or vibrate, as this distracts and can lead to damage on rough terrain.
Safety Check: Before every ride, give the computer a gentle tug to confirm it’s locked securely into its mount. The last thing you need is for it to detach on a fast descent.
Why the Perfect Angle Matters
Spending a few minutes on this adjustment pays dividends:
Enhanced Safety: Quick, effortless glances keep your focus on the path or traffic ahead.
Reduced Fatigue: A neutral neck and eye position prevent strain on long rides.
Better Data Utility: When you can see your metrics clearly, you can use them effectively to pace your effort or follow a route.
Your bike computer should feel like a natural extension of your cockpit, not an awkward addition. By investing in a versatile, adjustable mount and taking the time to set the angle for your unique riding style, you unlock a smoother, safer, and more connected cycling experience. Look down with ease, and look ahead with confidence.
2025-12-15
Trifox
SHARE:


Comments