Mountain biking is a thrilling sport but can be tiresome when the ride is bumpy and rough. A good quality suspension system is integral to making your ride smoother and more comfortable, especially for beginners in the sport. Even experienced riders will tell you that the right suspension setup on your frame can make all the difference in ensuring that you have a great time on the trails.
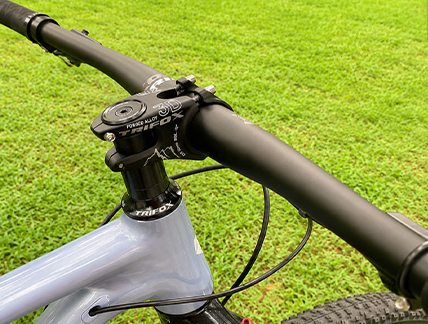
1. Choose a Frame Suspension System That is Suitable for You
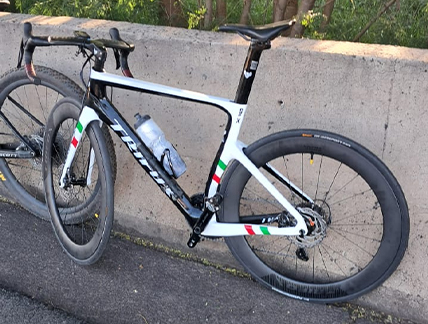
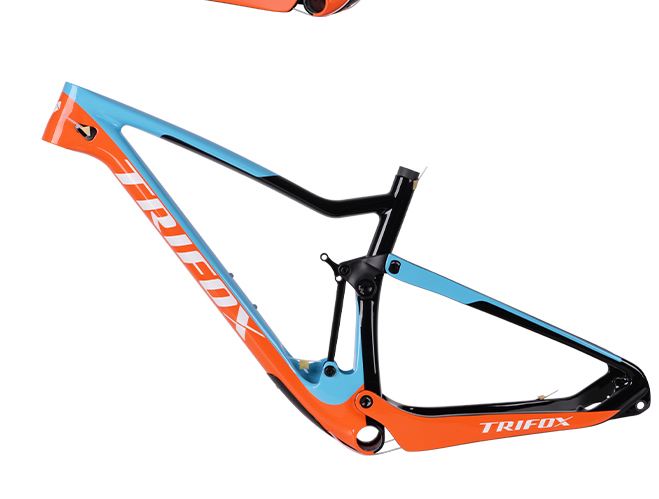
The first step in setting up your frame suspension is to choose a suitable setup that caters to your needs. Full suspension frames have a linkage system that connects the rear triangle to the shock and can give you greater comfort when riding over rough terrain. On the other hand, hardtail frames have a single suspension fork in the front and are good for riders who follow smoother terrain. The type of frame you select will depend on your riding style and the type of terrain you usually ride in.
2. Set Your Sag
The sag determines how much compression your bike experiences when you sit on it. The ideal sag should be set at 25-30% of your total shock stroke. This is important because it provides a good balance between responsiveness and a smooth ride. To set your sag, start by inflating your rear shock to its recommended pressure, hop on your bike with all your gear on, and cycle slowly and steadily for about 10 meters. Ask someone to assist you in measuring the distance between the seal of the shock and the o-ring. Adjust the air pressure in the shock accordingly until you achieve the desired sag.
3. Adjust Your Compression Damping
Compression damping controls how much your suspension will compress when your bike hits a bump, and slow down when it rebounds. Turning the dials on your shock and fork damper will adjust the compression damping, providing you with a stiffer or softer ride. Experiment with different settings until you find something that suits your riding style and the terrain you're riding in. It's important to note that a stiffer setting will help with climbing, while a softer setting will provide a smoother ride on downhill sections.
4. Adjust Your Rebound Damping
Rebound damping is responsible for controlling your bike's bounce rate after hitting a bump. Setting the rebound damping properly will prevent your bike from bouncing uncontrollably or rebounding too slowly. Too much rebound damping will make it feel harsher, while too little rebound damping will make it feel unstable. Adjust the rebound damping knob to find the appropriate level of resistance. Start by compressing your suspension fully, then release it and watch it rebound. A slow-motion rebound is a sign that you need to increase your rebound damping, while a fast rebound indicates that it's too high.
5. Regular Maintenance Checks
Now that you've set up your frame suspension, it's time to enjoy your smooth ride. However, you should remember that maintenance is key in keeping your suspension in good condition. Clean and lubricate your suspension periodically, check your air pressure, and make sure there isn't any oil leaking from the shocks. These maintenance checks will prevent early wear and tear on your suspension system, and give you a longer lifespan.
A frame suspension can make all the difference in ensuring a smooth and comfortable ride when mountain biking. Setting up and adjusting your frame suspension is relatively easy, and experimenting with different settings will help you find the perfect fit for your riding style and the terrain you're riding in. Don't forget to keep up with regular maintenance checks to ensure that your suspension lasts you a long time.
By doing so, you'll enjoy a more comfortable and confident riding experience that'll make you want to hit the trails time and time again.
2024-01-30
Trifox
SHARE:


Comments